
Last updated September 20, 2026
Free on-site gate assessment - hinges, posts, and your LiftMaster or Nice gate operator checked before anything is quoted
The assessment is free and the quote is the invoice.
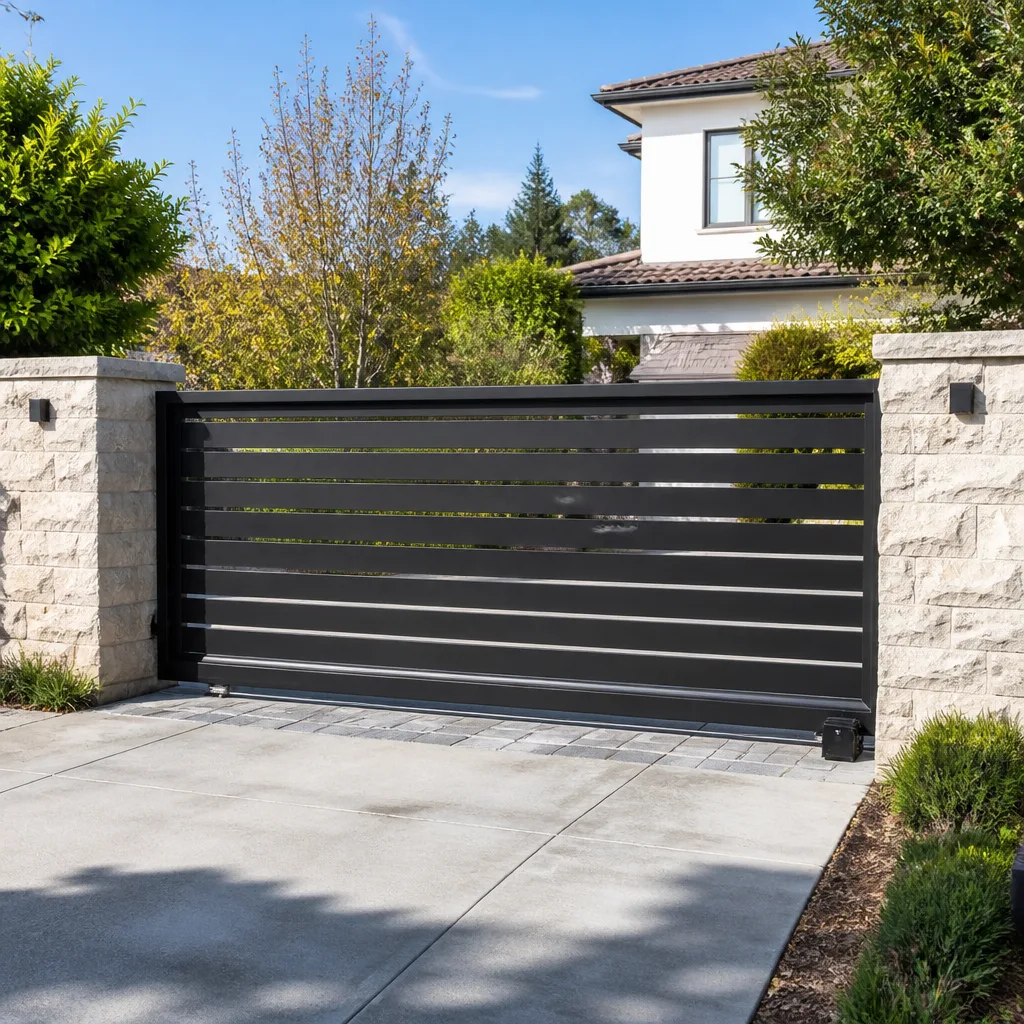
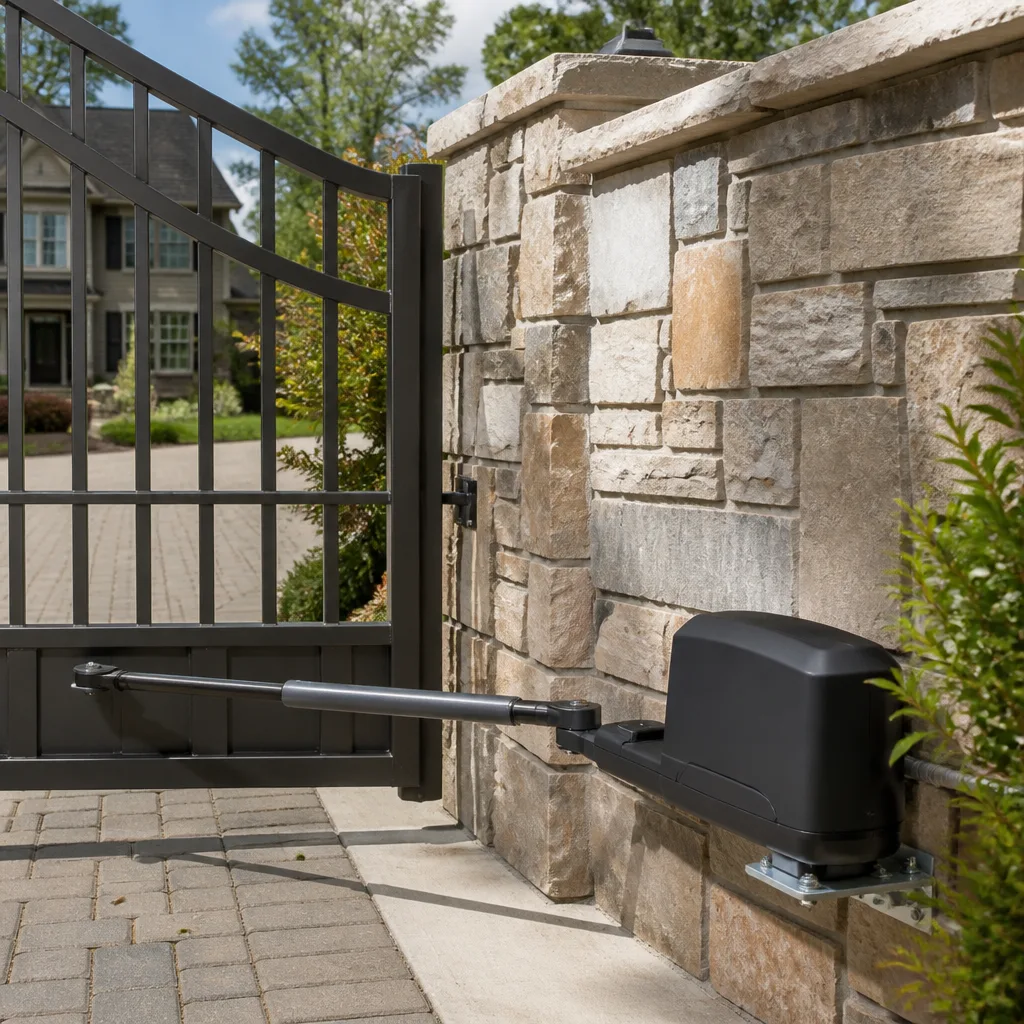
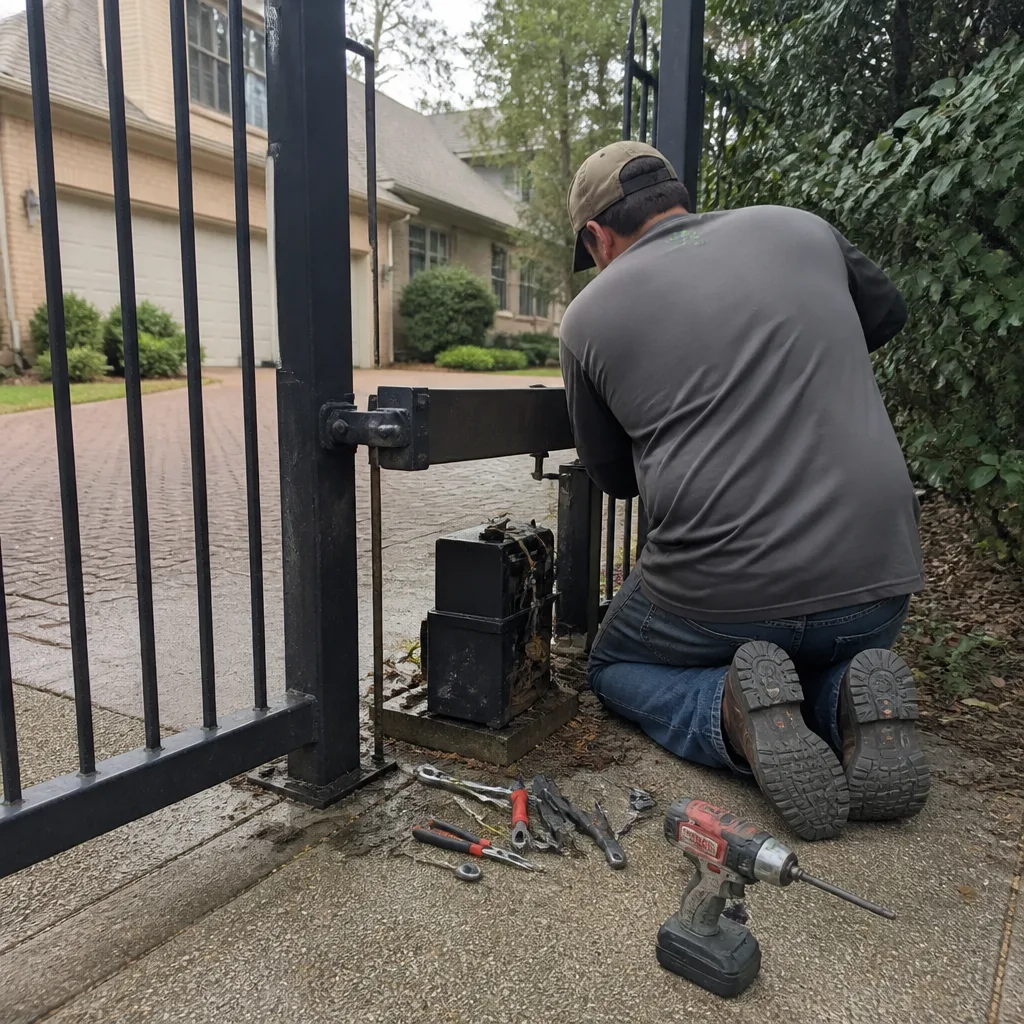 Before
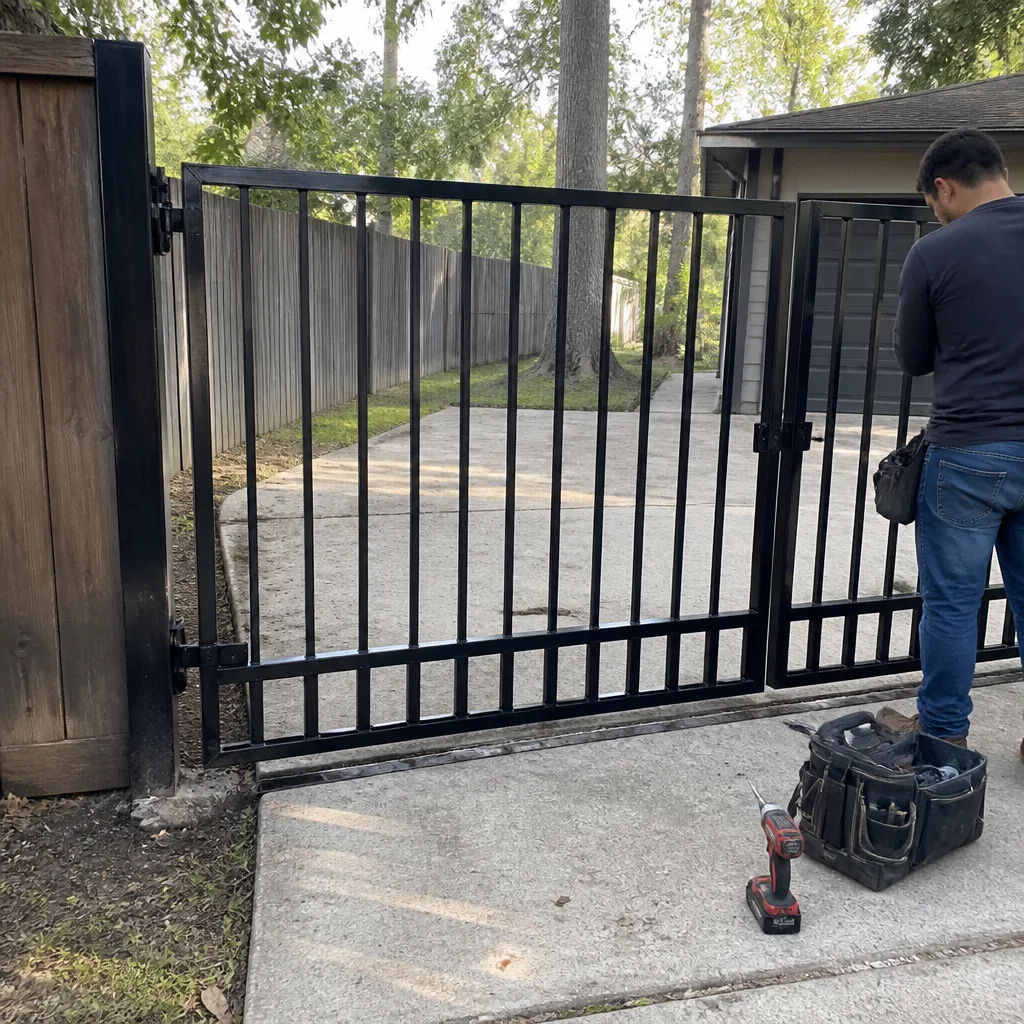 After
After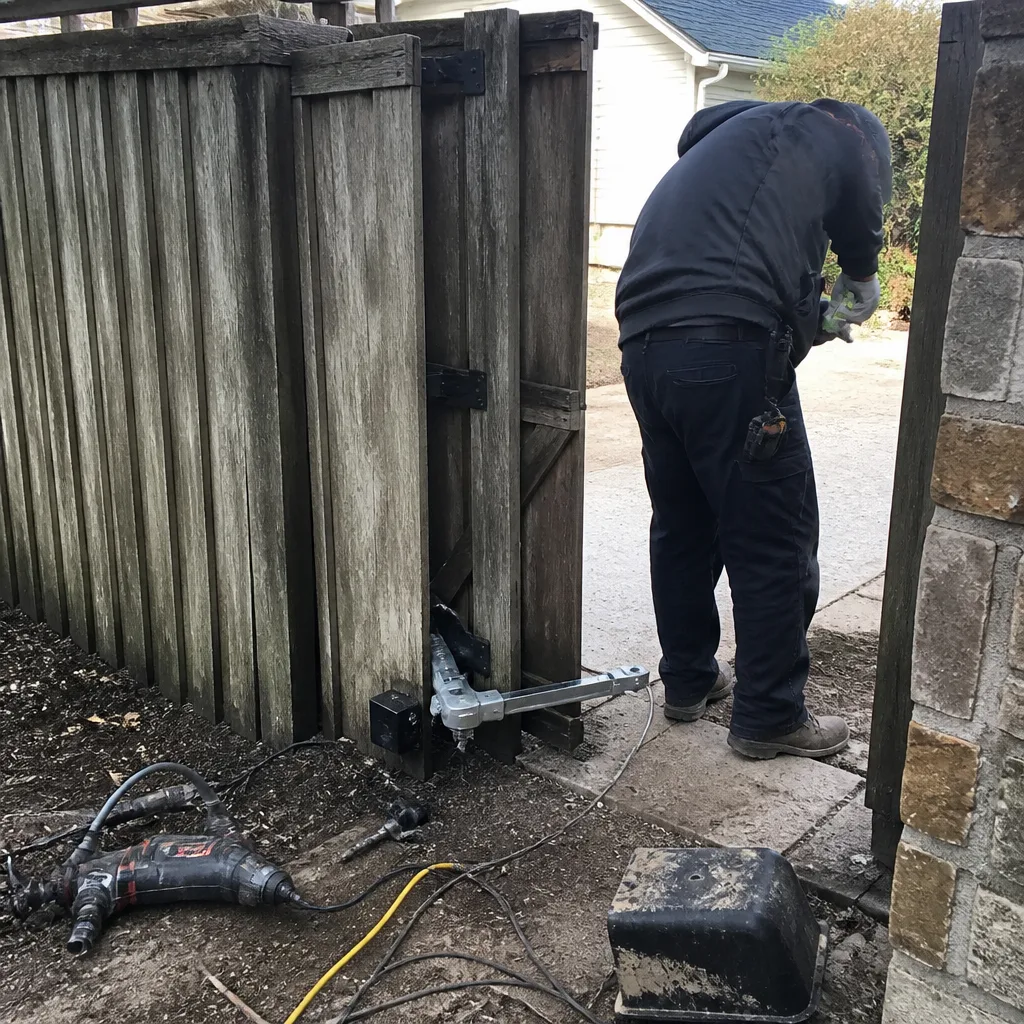 Before
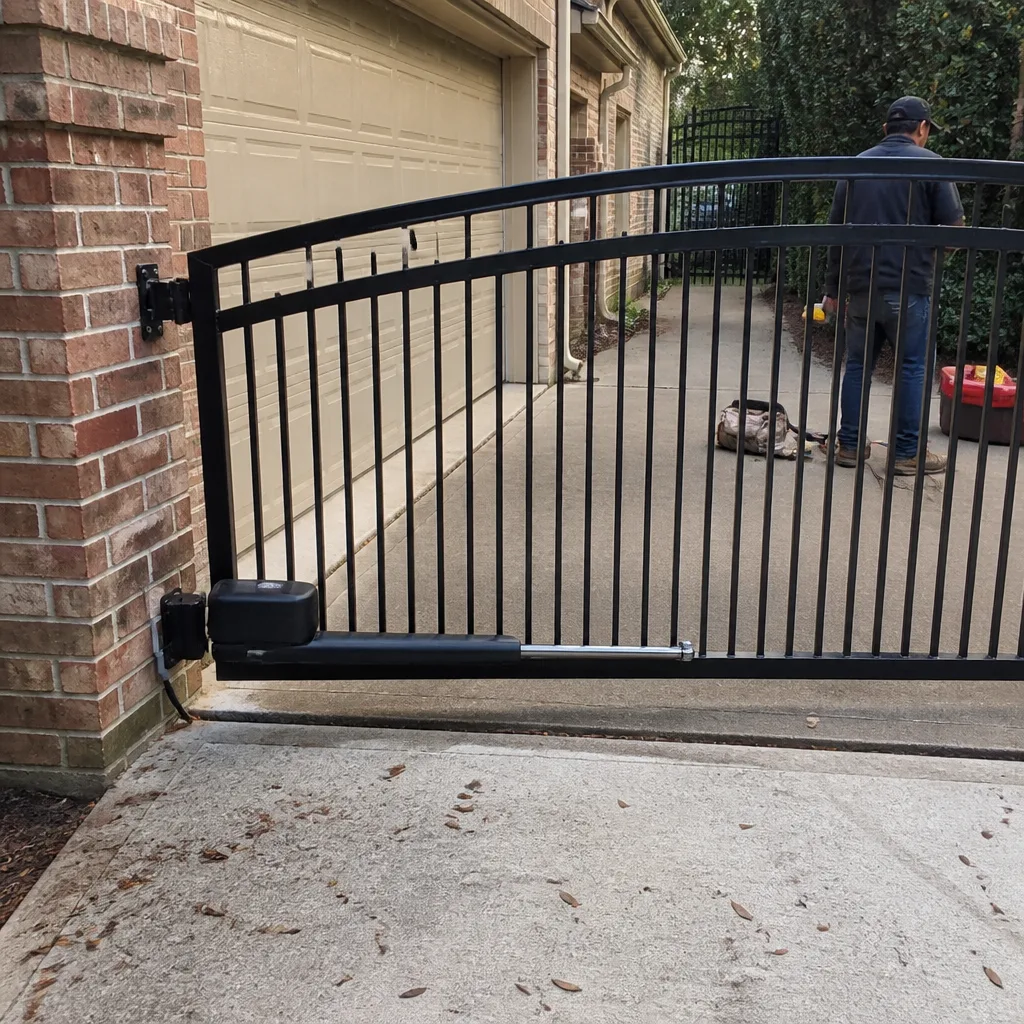 After
After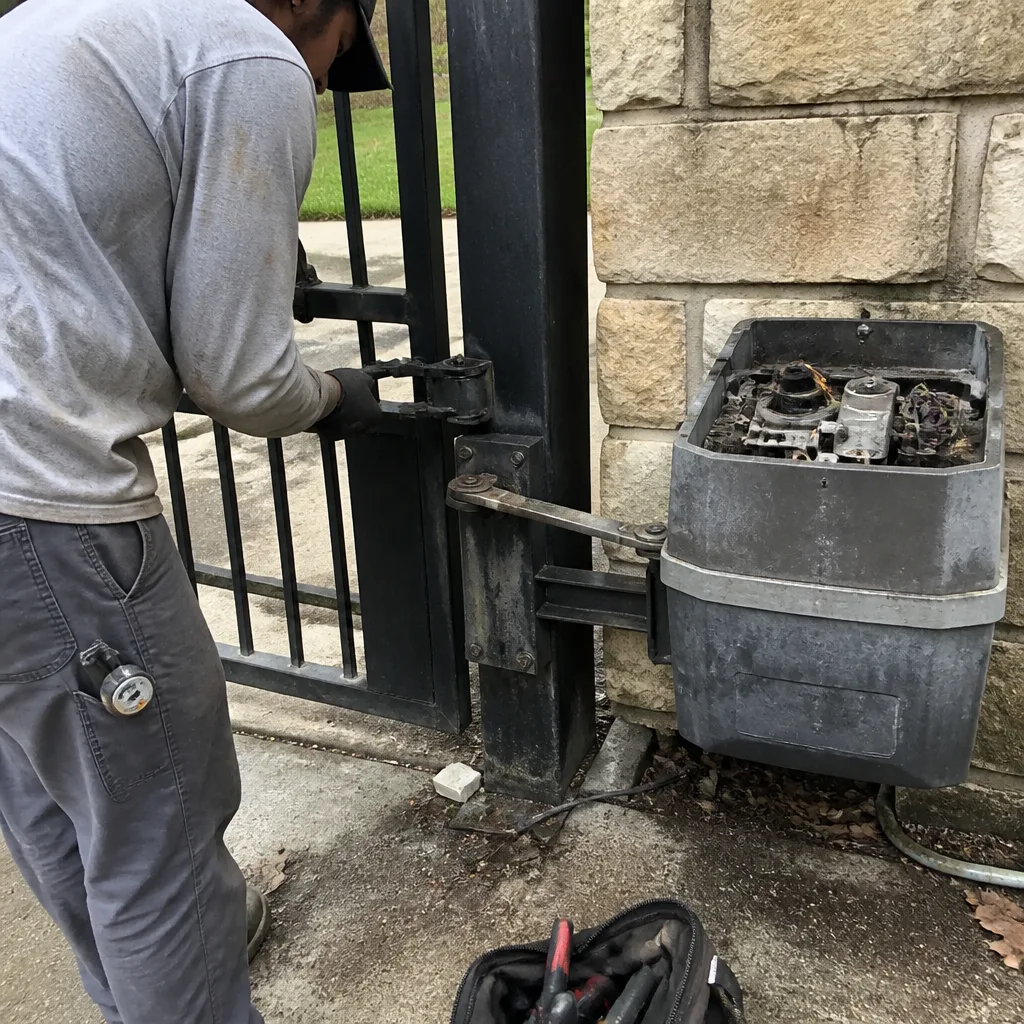 Before
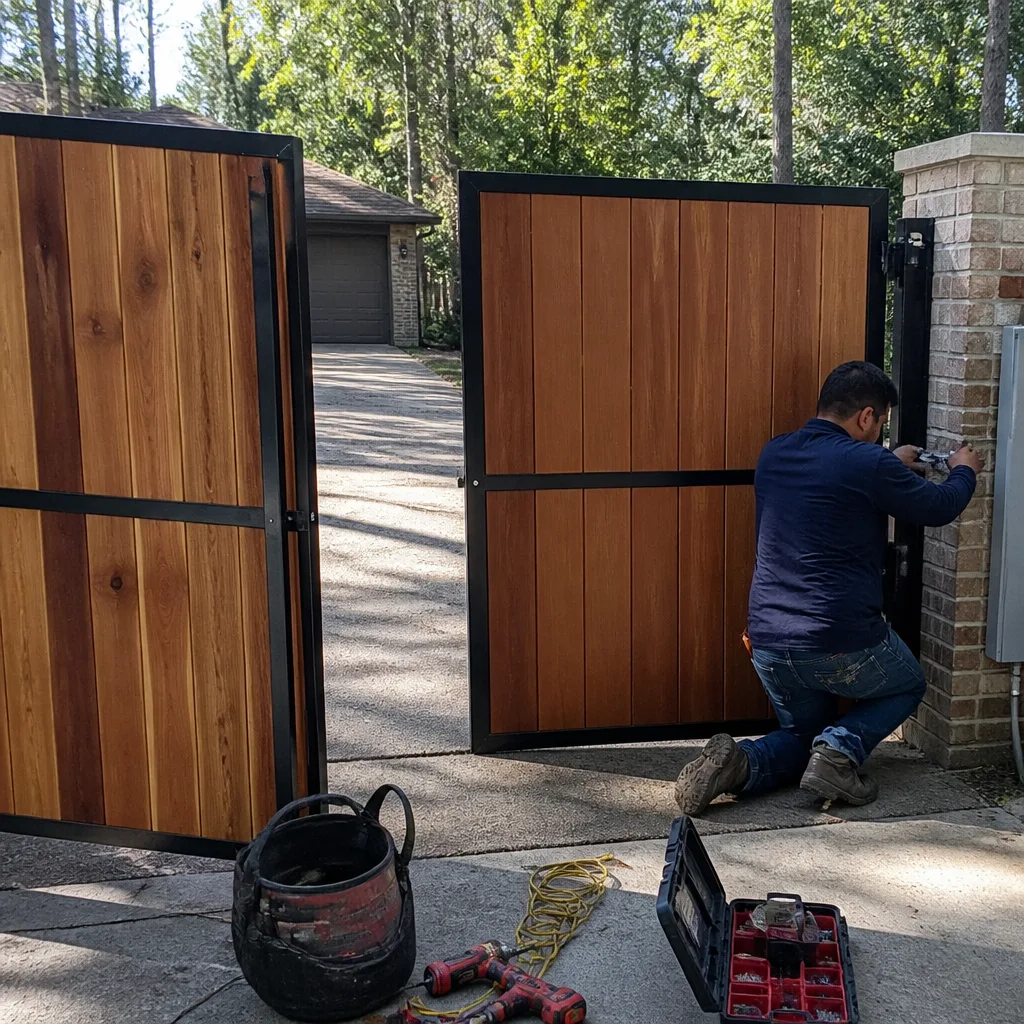 After
AfterGate Repair Maintenance Checklist for The Woodlands Homeowners
Most gate maintenance checklists fail for the same reason most tire-pressure checks fail: they tell you to look, but never tell you what you’re looking for. Checking your gate’s chain tension without knowing that the acceptable sag range is 1/4 to 1/2 inch is the same as checking your tire pressure without a gauge – the act feels productive but produces no usable information. This guide is different. Every inspection point below includes a pass/fail threshold with a specific number, because a checklist without thresholds is just a list of things to stare at. If you live in The Woodlands, you’re also dealing with three local conditions no national checklist covers: mud daubers in spring, oxidation after humid summers, and ground heave after freeze events. We’ll cover all three.
Quick Answer
A useful gate maintenance checklist for The Woodlands homeowners measures specific thresholds: chain sag between 1/4 and 1/2 inch, hinge gap under 1/8 inch, photo-eye alignment within 1/4 inch variance, and capacitor voltage within 10 percent of the labeled rating. Run through every item below at least twice a year, photograph each inspection point, and date every record so the next check shows change over time instead of starting from memory. Most gates in The Woodlands that fail suddenly were showing measurable Gate Repair Warning Signs: A The Woodlands Homeowner’s Reference Guide for months before the failure.
Table of Contents
- The Hinge Check: Gap Tolerances That Predict Failure
- Chain Sag: The 1/4 to 1/2 Inch Rule
- Photo-Eye Alignment: What a Bad Reading Actually Looks Like
- Capacitor Voltage: Checking the Part That Dies First
- Limit-Switch Positions: Record Before You Adjust
- Three The Woodlands-Specific Checks: Mud Daubers, Oxidation, and Ground Heave
- Which Tasks Void Warranties (and Which Ones Manufacturers Require)
BeforeAfterThe Hinge Check: Gap Tolerances That Predict Failure
Hinges fail before gates do. The hinge is where all the gate’s weight concentrates, and in The Woodlands the combination of heavy spring rains and summer humidity means even powder-coated steel hinges start showing measurable wear within five to seven years. A hinge that’s developing play doesn’t announce itself with a crash. It starts as a gate that hangs slightly lower on the latch side, then a scrape mark on the post, then a motor that works harder to move the same weight it moved easily last year. Each stage is measurable.
Here’s what to check and what the numbers mean:
- Gap between hinge leaf and post: Should be under 1/8 inch. Use a standard drill bit as a feeler gauge. If a 1/8-inch bit slides into the gap anywhere along the hinge line, the hinge pin or bushing is wearing, and load is shifting to the other hinges. At 1/4 inch, the gate is no longer hanging straight, and you’re putting additional strain on the motor, the opener arm, and the latch.
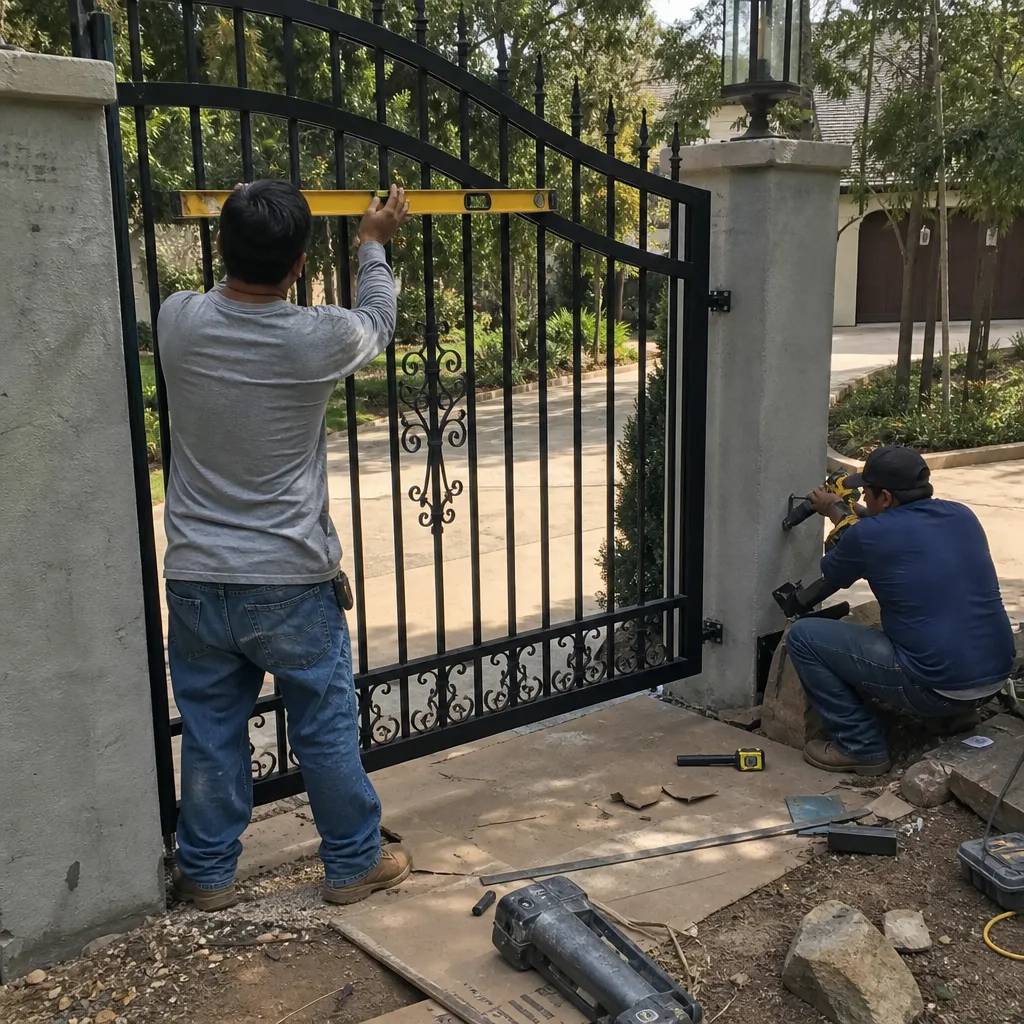
- Gate level from the latch post: Measure from the bottom rail of the gate to the ground at both ends. A difference of more than 1/2 inch over a 10-foot span means the hinges have sagged or the post has moved. In The Woodlands, post movement is common after periods of drought followed by heavy rain, which is why this check matters more here than in areas with stable soil.
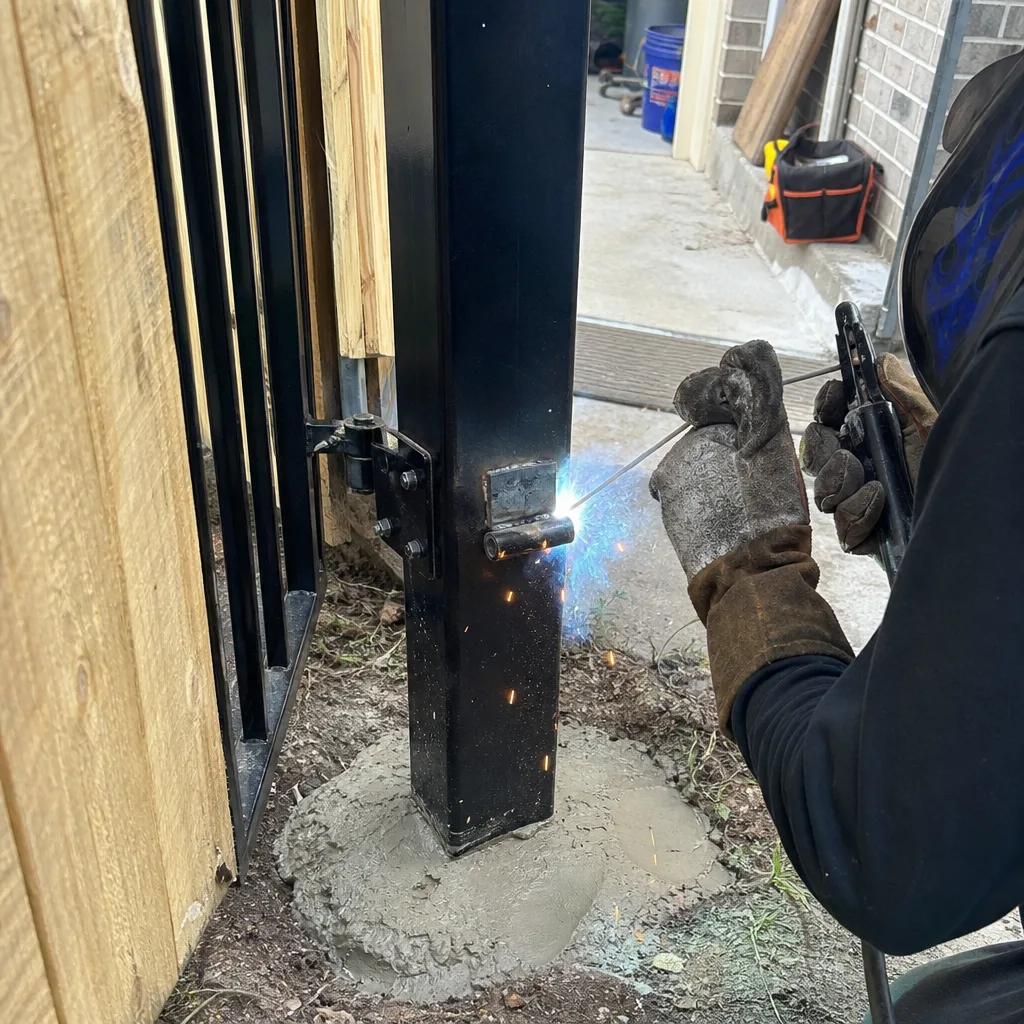
- Weld joints at the hinge point: Look for hairline cracks propagating from the weld. A crack under 1/4 inch can often be welded before the hinge tears out completely. A crack over 1/2 inch means the hinge has been failing for months, and the gate has been hanging on the remaining weld bead. We repair gates in The Woodlands where homeowners show us photos of cracks they noticed a year earlier and assumed were cosmetic. They weren’t.
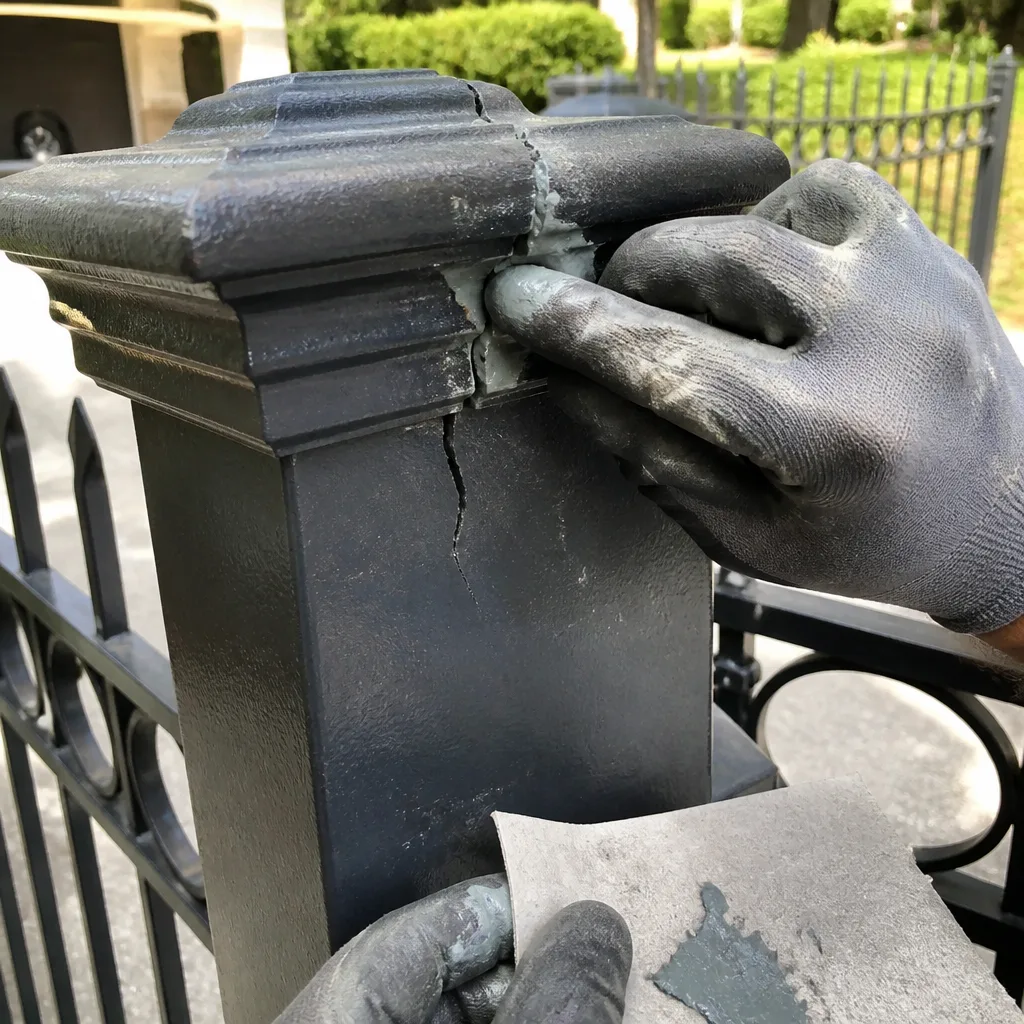
- Grease evidence: Dry, rust-colored powder around a hinge pin means the lubrication has failed and the metal is grinding. A quick spray of white lithium grease takes 30 seconds and restores the bearing surface, but only if the pin hasn’t already worn oval.
Photograph each hinge from two angles: one straight-on, one from below looking up at the gap. Date the photo. Next time, compare the gaps to the photo. A hinge that was at 1/16 inch in March and 3/32 inch in September is telling you something specific: the wear rate is accelerating, and you have roughly a year before the gate starts sticking.
Chain Sag: The 1/4 to 1/2 Inch Rule
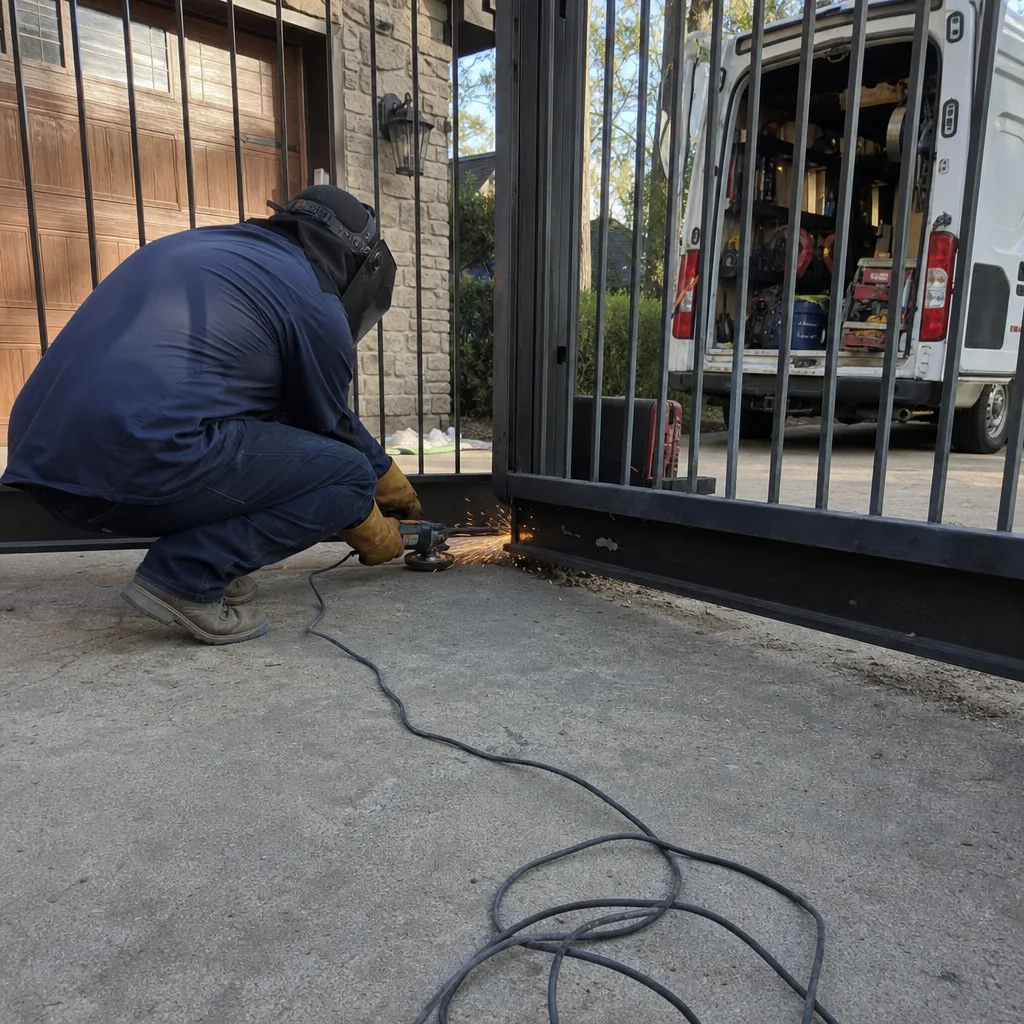
Chain-drive gate openers work because the chain transfers motor rotation to the gate arm through a sprocket. Too tight and the chain loads the motor bearings and the sprocket teeth, wearing both out early. Too loose and the chain slaps against the rail, skips teeth under load, and eventually jumps the sprocket entirely. The acceptable sag range on a residential chain-drive gate in The Woodlands is 1/4 to 1/2 inch when measured from a straightedge laid across the top of the chain run.
Here’s how to measure it correctly:
- Close the gate completely and disconnect power to the opener at the breaker or service disconnect. Never inspect or adjust a chain on a powered opener – a moving chain can remove fingers.
- Lay a rigid straightedge – a level works well – across the chain’s upper run, from the sprocket at the operator end to the idler pulley at the far end.
- Press down gently at the midpoint of the chain run. The distance the chain moves from the straightedge’s bottom edge is your sag measurement.
- Record the number. If it’s between 1/4 and 1/2 inch, the chain is within spec. If it’s over 1/2 inch, the chain has stretched or the idler pulley has moved. If it’s under 1/4 inch, the chain is too tight and you’re wearing the motor bearings.
In our experience, most chain-sag problems on homes in The Woodlands come from two sources: initial installation without a chain tensioner, and thermal expansion during July and August when daytime temperatures stay above 95 degrees and the chain elongates. A chain that’s in spec in January can be out of spec by late summer. We recommend checking sag in both seasons and writing down both readings. The difference between your cold-weather and hot-weather readings is your gate’s thermal expansion range. Once you know it, you can spot abnormal stretching before the chain fails.
For gates equipped with LiftMaster or Mighty Mule chain-drive operators, the adjustment procedure is in the manual, but the sag tolerance is the same: 1/4 to 1/2 inch. If you’re not sure whether your measurement is reliable, a free second opinion on a written estimate from another company is something we offer – bring the paperwork and we’ll review the tension readings at no cost. Our full-service Gate Repair in The Woodlands service includes chain measurement as part of every diagnostic visit.
Photo-Eye Alignment: What a Bad Reading Actually Looks Like
A photo-eye, which is the infrared beam that stops the gate if something crosses the path, fails gradually in most cases. The beam drifts out of alignment by fractions of an inch per month, usually because the bracket vibrates loose or a post shifts slightly. At some point the beam’s receiver stops seeing the transmitter’s signal, the operator reads that as an obstruction, and the gate either refuses to close or reverses immediately after starting. Homeowners call us thinking the motor is dead. Usually the motor is fine and the photo-eye is misaligned by less than an inch.
The alignment tolerance that matters: the receiver must see the transmitter’s beam with no more than 1/4 inch of lateral drift at the receiver lens. You can verify this without a multimeter or special tools:
- Check that both photo-eye housings are clean. Mud, pollen, and the fine dust common during The Woodlands’ dry stretches will coat the lens and reduce beam strength even when alignment is perfect.
- Look for steady indicator lights on both transmitter and receiver. Most models show a solid LED when the beam is received and a blinking LED when misaligned or blocked. A blinking receiver light means the beam is not hitting the lens center.
- If your model has no indicator light, block the beam with your hand. The gate should stop or reverse. If it doesn’t, the beam has been out of alignment long enough that the operator ignored it – and some operators will bypass the photo-eye after enough failed cycles.
- Check the bracket screws. A bracket that’s loose by even one full turn can move the photo-eye enough to break the beam. This is one of the most common service calls we handle on gate repairs in The Woodlands, especially on gates that share a post with a mailbox or landscaping that gets bumped by lawn crews.
Photograph the photo-eye housings from both sides and include the indicator light in the frame. If you ever need to dispute a failure or show a technician what changed, that photo is your baseline.
Capacitor Voltage: Checking the Part That Dies First
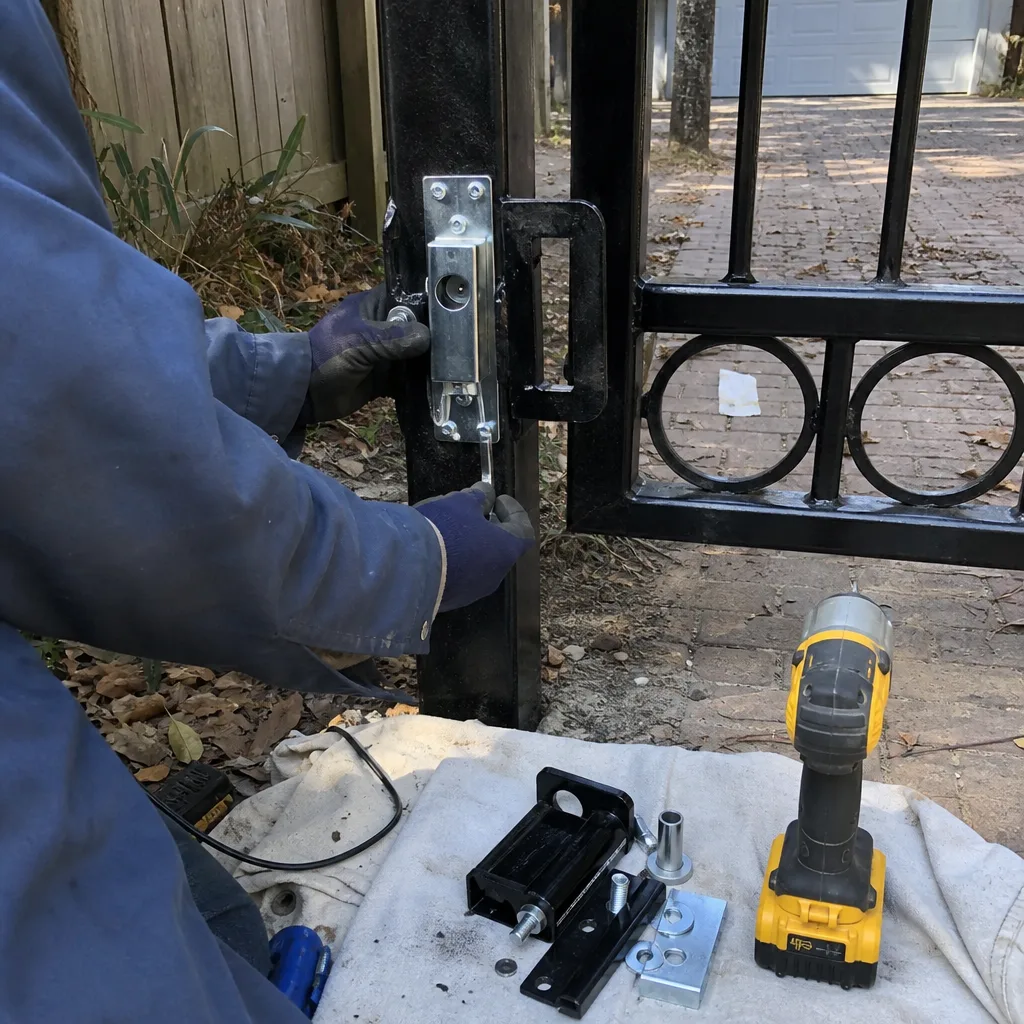
Capacitors are the first component to die in most automatic gate openers, and in The Woodlands they die faster because heat accelerates capacitor failure. The capacitor stores and releases the electrical energy that starts the motor turning. When it weakens, the motor struggles to start, or hums without turning, or starts intermittently. Homeowners replace motors when the real problem is a $15 capacitor.
Here’s the pass/fail threshold: a capacitor’s measured microfarad (µF) rating should be within 10 percent of the value printed on its label. A capacitor labeled 40 µF that reads 36 µF is tired but functional. The same capacitor reading 30 µF has lost 25 percent of its capacity and is the reason your gate opens slowly or stalls partway through travel. A bulged or leaking capacitor fails the test regardless of its electrical reading – physical deformation means internal breakdown, and that capacitor is done.
Checking a capacitor requires a multimeter with capacitance measurement, and it requires something more important: the knowledge that capacitors store charge even after power is disconnected. A charged capacitor can deliver a shock that stops your heart. This is the single most dangerous component in a gate opener, and we do not recommend homeowners discharge and test capacitors themselves. Instead, here’s what a homeowner can safely do:
- Listen at the motor during startup. A healthy opener starts without delay. A weak capacitor produces a noticeable pause or a low hum before the motor actually turns.
- Time the first movement. A gate that used to begin moving within half a second and now takes two seconds or more is showing classic capacitor degradation.
- Check the capacitor housing visually. Disconnect power at the breaker first, then look. A bulging top, a swollen side, or any fluid leakage means the capacitor has failed. Do not touch the terminals.
- Write down the capacitor’s printed rating. When you call a technician, the label value tells them immediately whether the part is standard or a specialty rating. It speeds diagnosis and keeps the visit shorter.
Our Gate Motor & Opener in The Woodlands service includes capacitor testing on every diagnostic visit. If the capacitor is weak, replacing it is a fraction of the cost of a full operator replacement, and we always quote the written price before any work starts.
Limit-Switch Positions: Record Before You Adjust
The limit switch is the mechanism that tells the operator when the gate has traveled far enough. When it’s set correctly, the gate stops exactly at closed and exactly at open, without slamming or stalling. When it’s off, the gate either stops short, over-travels and stresses the hinges, or runs the motor against the stop until the overload trips. A limit switch set 12 degrees past travel was the specific problem on a repair we documented recently: the motor was pushing the gate into the post on every cycle, and the homeowner had been listening to that grinding noise for weeks thinking it was normal.
Before you adjust any limit switch, record the current position. This is the step almost every guide skips, and it’s the step that saves you when the adjustment doesn’t work:
- Locate the limit switch assembly on your operator. On LiftMaster and FAAC residential models, limit switches are small adjustable cams or screws inside the operator housing. On Linear and Elite models, they may be accessed from the side of the unit.
- Photograph the switch position from directly above and from the side. Include a ruler or a coin in the frame for scale if possible.
- Mark the screw slot or cam position with a fine-tip permanent marker so you can return it exactly to its original setting.
- Note the position in writing: “limit switch A set at 10 o’clock, limit switch B at 2 o’clock” is enough. The goal is that if a replacement operator is ever installed, those positions can be transferred and the gate behaves identically.
- Only then make a small adjustment – one-quarter turn at most – and test the gate through a full open and close cycle.
Most homeowners in The Woodlands never think about limit switches until the gate starts behaving oddly. But if the opener is ever replaced, the new unit’s limit settings are set from scratch, and without a record of the old positions the installer is guessing. Your written record of limit positions, stored in the same envelope as your gate photos, means the next technician can set the new operator to the same travel in minutes instead of spending an hour field-adjusting. That documentation habit is part of what we leave behind on every visit: the photographed record of what was found, what was set, and what was installed.
Three The Woodlands-Specific Checks: Mud Daubers, Oxidation, and Ground Heave
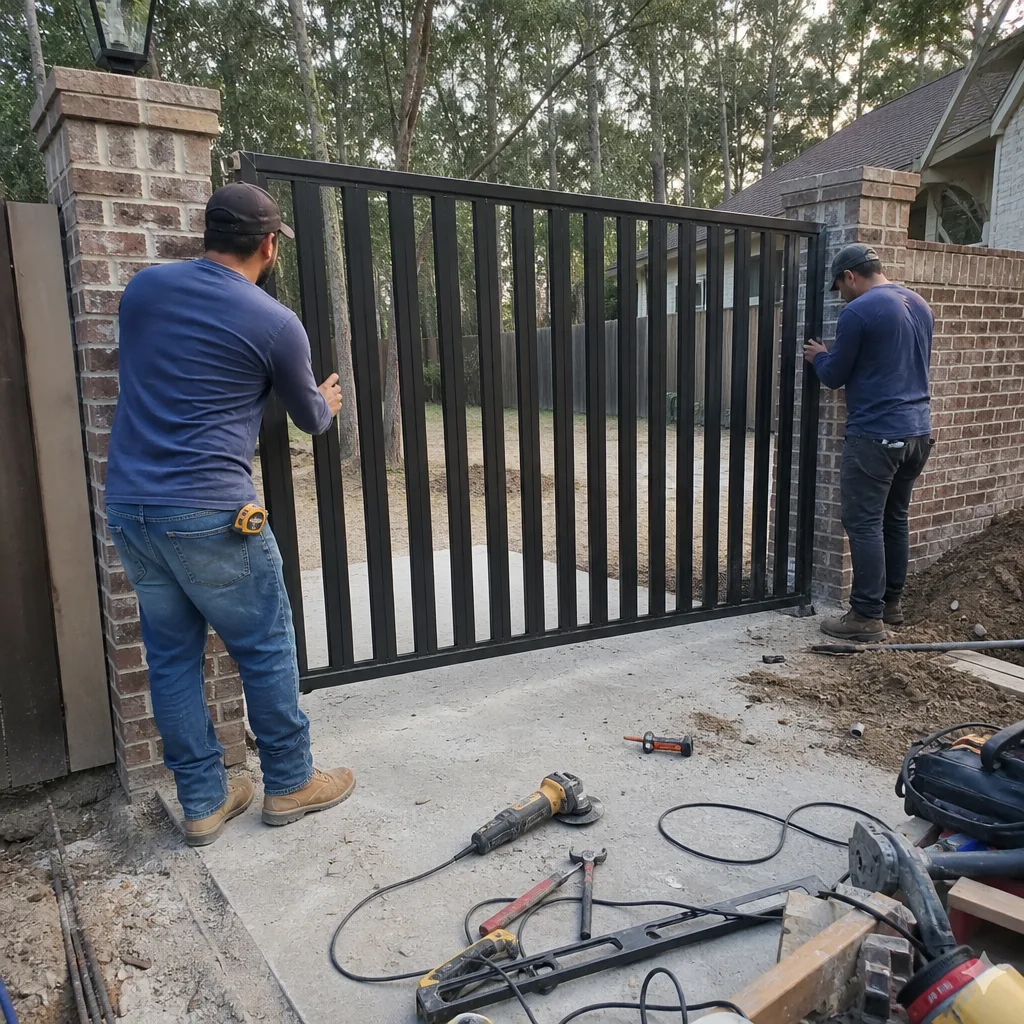
National gate maintenance checklists miss the three failure patterns we see most often in The Woodlands, which is why we also publish more guides & resources on local conditions. These are environmental, not mechanical, and they’re predictable once you know to look for them.
1. Mud Dauber Nests in Control Boxes (Check in April and May)
Mud daubers – the solitary wasps that build tube-shaped mud nests – love the inside of gate control boxes. They get in through conduit knockouts, cable entry points, and the gaps around the control board mounting screws. They build nests across relay contacts, block cooling vents, and in some cases short out the board entirely. In The Woodlands, the season starts around March and peaks through May, and by June the nests are dry, hard, and doing their damage.
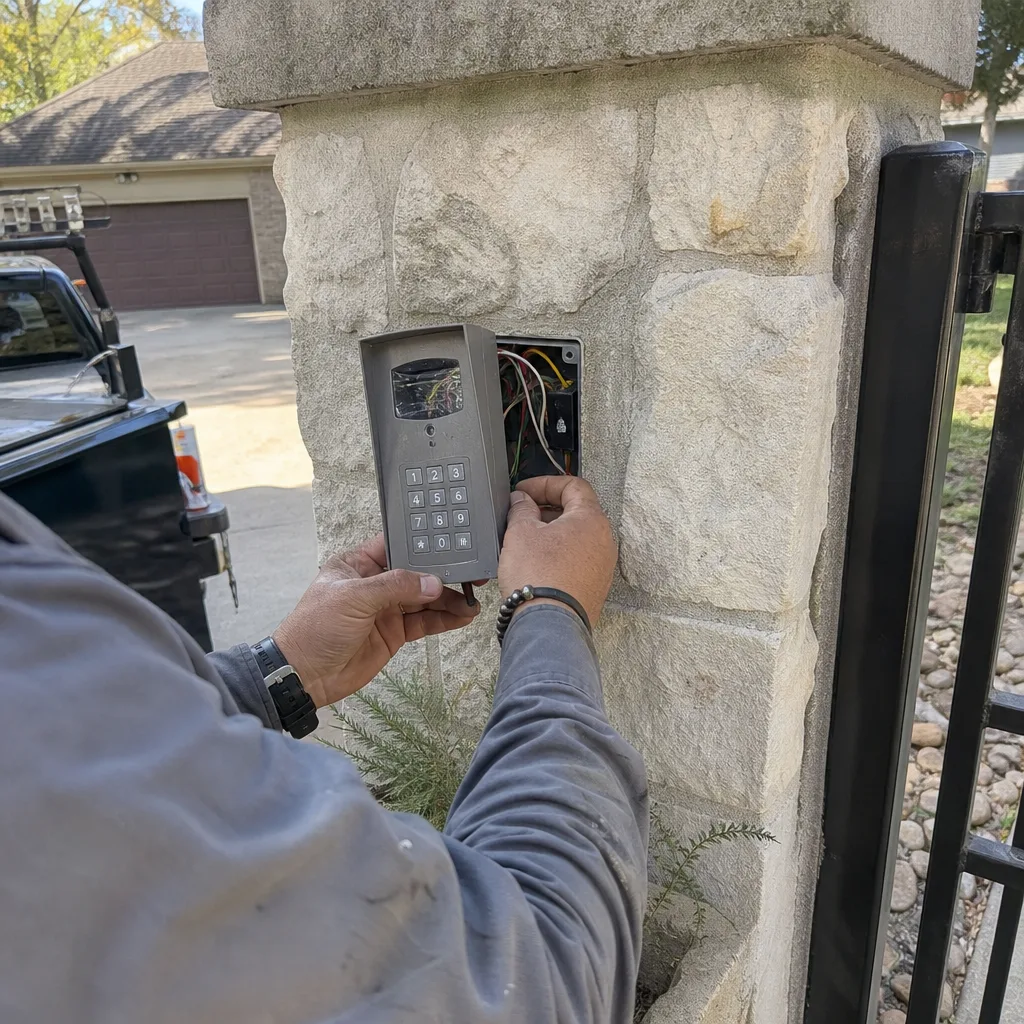
The check is simple: open the control box, look for mud tubes anywhere on the board or the enclosure, and remove them if the power is off. Wear gloves. A nest across a relay contact is a fire hazard as much as a mechanical problem. We receive calls every spring from homeowners whose gates have stopped responding, and the cause is a mud dauber nest that bridged two contacts and fried the board. The fix was avoidable with a 10-minute seasonal check.
2. Oxidation on Aluminum Welds (Check in September)
The Woodlands’ summer humidity runs 80 to 90 percent for weeks at a time, and aluminum gate frames oxidize where the powder coating has been scratched, worn, or welded. Oxidation is the white, chalky powder that forms on exposed aluminum. On its own it’s cosmetic, but it spreads under the coating and weakens weld joints over time. We see this most often at the hinge-side bottom corners and anywhere a chain link or latch has rubbed through the finish.
Check every weld seam on an aluminum gate once a year, ideally in September when the humidity has peaked. Look for white powder lifting the coating at the edges. Sand the area lightly with fine-grit sandpaper, wipe with denatured alcohol, and touch up with a quality aluminum primer and paint. A weld that oxidizes for two or three humid seasons is a weld that will eventually crack, and the gate will fail at the seam where the frame joins the hinge plate.
3. Ground Heave After Freeze Events (Check in February)
The Woodlands doesn’t freeze often, but when it does, the soil shifts. Freeze-thaw cycles cause the clay-rich soil under gate posts to expand and contract, and over time the posts move. A post that was true last spring can be off by half an inch after a January freeze. That half inch transfers directly to the hinge geometry, and the gate starts binding.
After any freeze event where temperatures stayed below 32 degrees overnight, re-check your gate level measurement from the hinge section above. If the gate sags more than 1/2 inch over a 10-foot span and it wasn’t sagging before the freeze, you’re probably looking at post movement, not hinge wear. That’s a structural issue, not a maintenance issue, and it usually requires resetting the post or shimming the hinges. The earlier you catch post movement, the less work it takes to correct. A post that’s moved half an inch can often be shimmed; a post that’s moved two inches usually needs to be pulled and reset in new concrete.
Which Tasks Void Warranties (and Which Ones Manufacturers Require)
Most gate opener warranties contain language that homeowners never read. The important distinction is between tasks the manufacturer requires you to perform and tasks that void the warranty if you attempt them. Getting this wrong can cost you the full replacement price of an operator.
Tasks manufacturers typically require homeowners to perform (and document):
- Regular lubrication of hinges and chain with a specific type of lubricant, often specified in the manual as white lithium or silicone, not WD-40.
- Keeping the photo-eyes clean and free of vegetation, spider webs, and debris.
- Maintaining adequate drainage around the operator’s base so water doesn’t pool.
- Checking and tightening all visible mounting hardware on a schedule, usually quarterly or semi-annually.
Tasks that typically void warranties if performed incorrectly or by an unqualified person:
- Opening the operator’s sealed gearbox. Some FAAC and LiftMaster models use a sealed gear housing; breaking the seal voids the warranty on the entire transmission.
- Adjusting the torque limiter or force settings beyond manufacturer tolerances. Force settings exist to prevent entrapment; setting them too high to “make the gate close” is both a warranty violation and a safety hazard.
- Replacing the capacitor or any board-level component with a part not matching the original specification. This is why capacitor testing belongs to a technician.
- Modifying the control board, bypassing the photo-eye, or altering limit-switch wiring to “fix” a reversing gate. Bypassing a safety device is a warranty void on every major brand, including Mighty Mule and Elite.
- Using an extension cord to power a fixed gate opener, even temporarily. Most manuals state this explicitly, and it voids the electrical warranty.
The documentation habit matters here too. If you log your maintenance checks with dates and photos, and a warranty claim ever comes up, you can show the manufacturer that required maintenance was performed. That record can mean the difference between a covered repair and a denied claim. We file that documentation on every job we complete, and our Gate Installation in The Woodlands service includes a full written record of every setting and part number from day one.
Common Mistakes to Avoid
- Lubricating the chain with WD-40. WD-40 is a solvent and light lubricant, not a chain lubricant. It strips what’s there and evaporates, leaving the chain drier than before. Use white lithium grease or a purpose-made chain lube specified in your operator manual.
- Ignoring a gate that reverses partway through closing. That reversal is almost always the photo-eye or the force setting telling you something is wrong. Disabling the photo-eye to force the gate closed creates an entrapment hazard and voids your warranty. In The Woodlands, where kids and pets are in and out of driveways all day, a bypassed photo-eye is a serious liability.
- Tightening a sagging chain without measuring sag first. If you tighten to “feels right,” you’re probably over-tightening, and you’ll wear the motor bearings prematurely. Measure first, record the number, then adjust only if it’s outside the 1/4 to 1/2 inch range.
- Power-washing the operator housing. High-pressure water forces its way past gaskets and into the control board. In The Woodlands’ humid climate, that moisture stays trapped inside and corrodes the board within weeks. Wipe down with a damp cloth instead.
- Not checking the gate’s physical mounting hardware quarterly. Bolts and brackets vibrate loose over time, and a gate is a large, heavy object moving on motor power. Loose mounting hardware is the most common repair we find that a 10-minute check would have prevented.
- Assuming the gate opener is the problem when the gate sticks. Usually the opener is working hard against a mechanical problem: a worn hinge, a shifted post, or a dry chain. Replacing the opener without fixing the mechanical issue means you’ll replace the new opener too when it burns out from the same load.
When to Call a Professional
Call a professional when a measurement falls outside the thresholds in this guide and you don’t have the tools or confidence to correct it safely. Hinge wear over 1/8 inch, chain sag outside 1/4 to 1/2 inch, a capacitor showing any physical deformation, or a post that’s clearly moved after a freeze – these are all issues where delaying makes the repair more expensive. The gate motor’s capacitor and the chain drive can genuinely hurt you if handled wrong. High-tension components, electrical capacitors, and a moving gate under power are not the place for trial and error. Vance Gate Repair The Woodlands offers Gate Repair services with free estimates in The Woodlands – call (346) 296-3138 and a live person answers, any hour, any day.
Frequently Asked Questions
Twice a year is the minimum: once in late winter after any freeze events to check for post movement and once in late summer after the peak humidity to check for oxidation and chain stretch. Add a third check in May for mud dauber nests in the control box. Each check takes about 30 minutes when you’re following a quantified checklist with pass/fail thresholds. Call (346) 296-3138 if you find a measurement outside the ranges listed in this guide and want a professional to confirm before spending money on repairs.
A basic residential gate maintenance visit in The Woodlands typically runs between $125 and $250, depending on whether it’s a visual inspection with adjustments or a full service with lubrication, chain tensioning, and photo-eye alignment. If components like capacitors or wheels need replacing, those parts add to the visit, but the written price is quoted and agreed before any work starts. Estimates are free, and you’ll always know the number before anyone picks up a tool.
The most common gate failure we see in The Woodlands is the operator motor burning out from fighting a mechanical problem the homeowner didn’t know was developing: usually a worn hinge or a loose chain that added load on every cycle for months. The motor was fine; it was working against a gate that stopped moving freely. That’s why this checklist focuses on the mechanical thresholds, not just the electrical ones. Call (346) 296-3138 and we’ll tell you what we find, with numbers and photos.
Yes, as long as you stick to the tasks manufacturers allow: lubrication, cleaning, visual inspection, photo-eye cleaning, and tightening visible hardware. Opening sealed gearboxes, adjusting force settings beyond spec, bypassing photo-eyes, and replacing electrical components with non-matching parts are the tasks that void warranties. When in doubt, read the operator manual or ask us – we service LiftMaster, FAAC, BFT, Linear, Viking, Ghost Controls, DoorKing, Elite, and Mighty Mule, so we can tell you what your specific brand allows. We’ll review any issue on a free estimate, no obligation.
Measure the gate’s level from the bottom rail to the ground at both ends, just like the hinge check described above. A difference of more than 1/2 inch over a 10-foot span after a freeze event usually means the post moved. Before it freezes, take a reference measurement and write it down, so you have a number to compare against. If the post has moved, don’t try to force the gate back into alignment – that stresses the hinges and the operator. Call (346) 296-3138 and we’ll confirm the measurement and give you a written price for correcting it.
We service nine major gate automation brands: LiftMaster, FAAC, BFT, Linear, Viking, Ghost Controls, DoorKing, Elite, and Mighty Mule. You don’t need to know which brand you have before calling, and we won’t steer you toward replacing a working opener just because we prefer a different brand. Our job is to fix what’s on the property, with a written price and a documented record of every adjustment. Call (346) 296-3138 and a live person answers, 24/7.
The Bottom Line
A gate maintenance checklist only protects you if it tells you what a failing reading looks like. Hinge gaps over 1/8 inch, chain sag outside the 1/4 to 1/2 inch range, photo-eye misalignment beyond 1/4 inch, and capacitors reading more than 10 percent below label are measurable warning signs, and they show up months before most failures. In The Woodlands, add mud dauber checks in May, oxidation checks in September, and post-movement checks after every freeze. Photograph every inspection point, date every record, and store the numbers. The goal is that by the time you call a technician, you’re not describing a mystery: you’re describing a measurement. And when we arrive, we’ll do the same thing – a written price before we start, a photographed record when we leave, and a gate that works the way it should. For a free estimate in The Woodlands, call (346) 296-3138. A live person answers at any hour.
Written by Adrian Vance, Owner at Vance Gate Repair The Woodlands, serving The Woodlands since 2014.