
Last updated September 20, 2026
Free on-site gate assessment - hinges, posts, and your LiftMaster or Nice gate operator checked before anything is quoted
The assessment is free and the quote is the invoice.
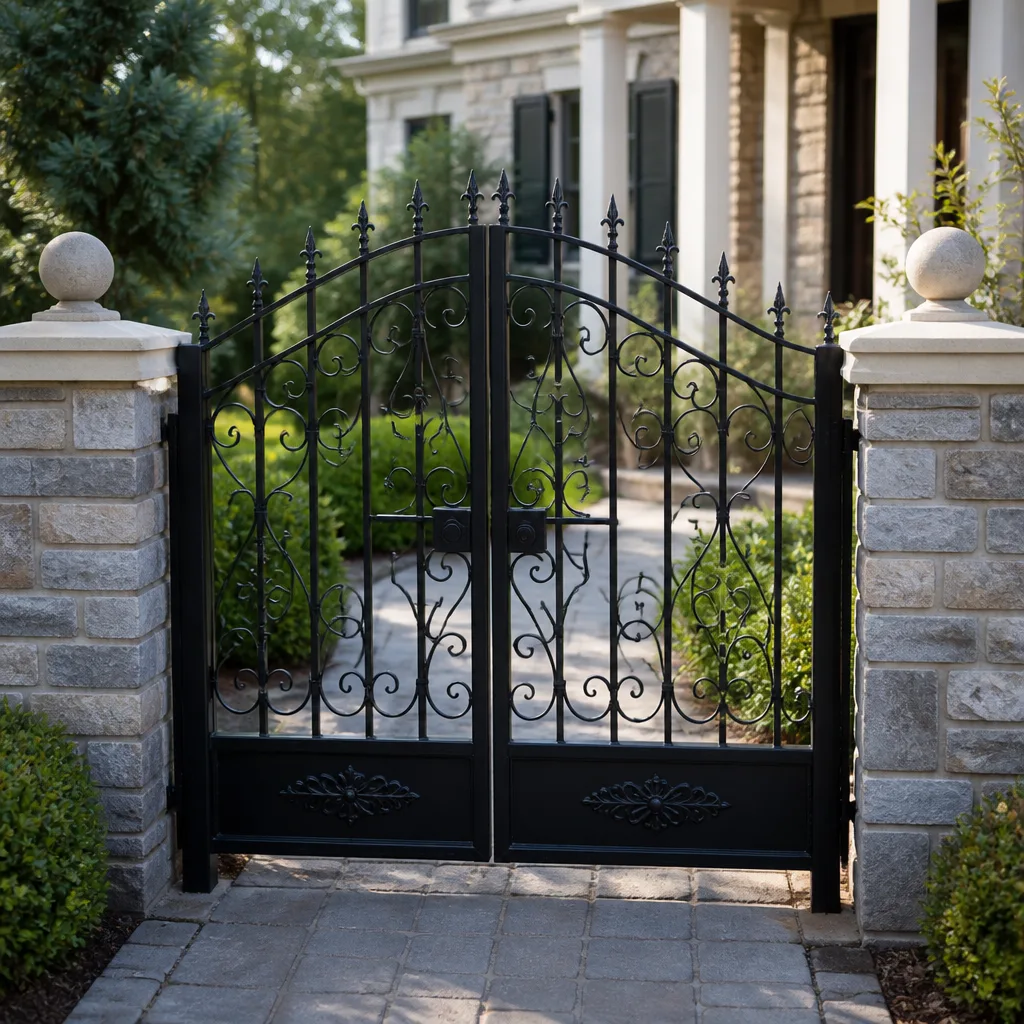
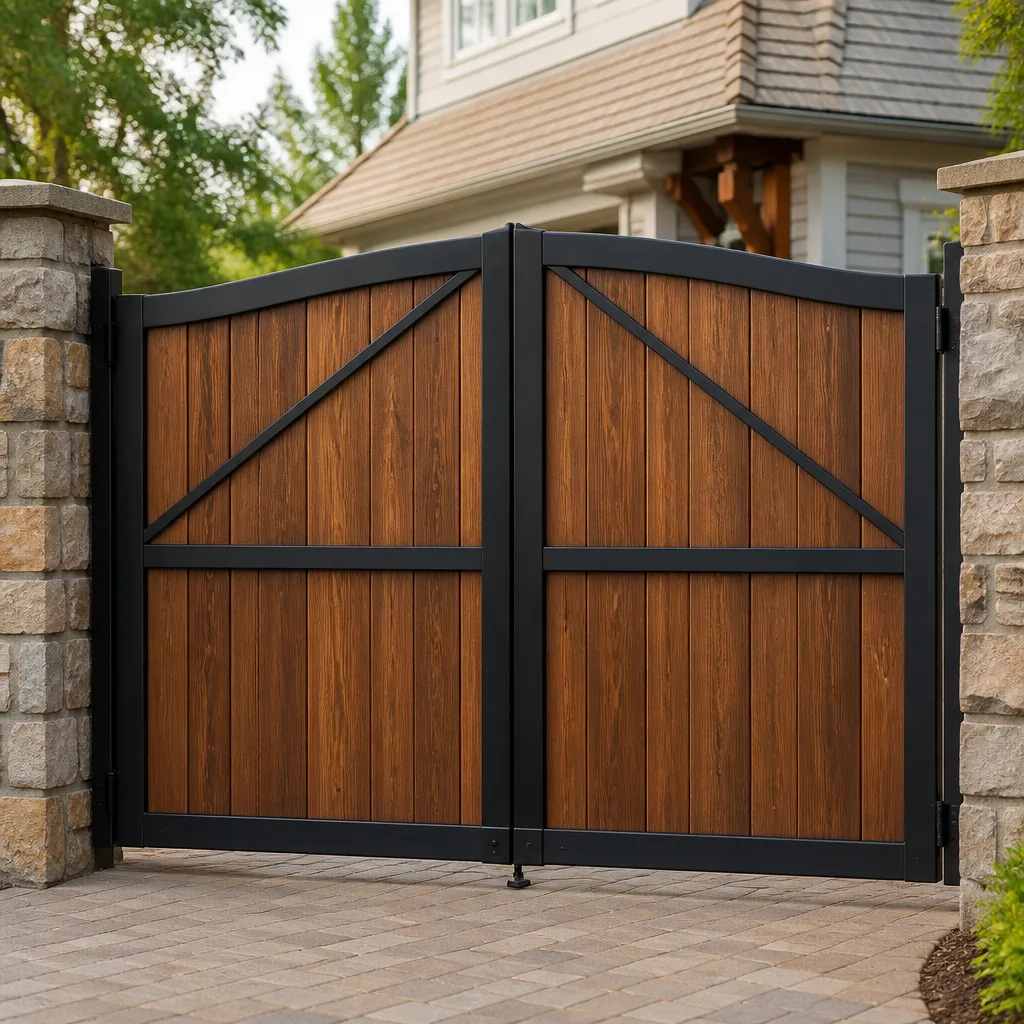
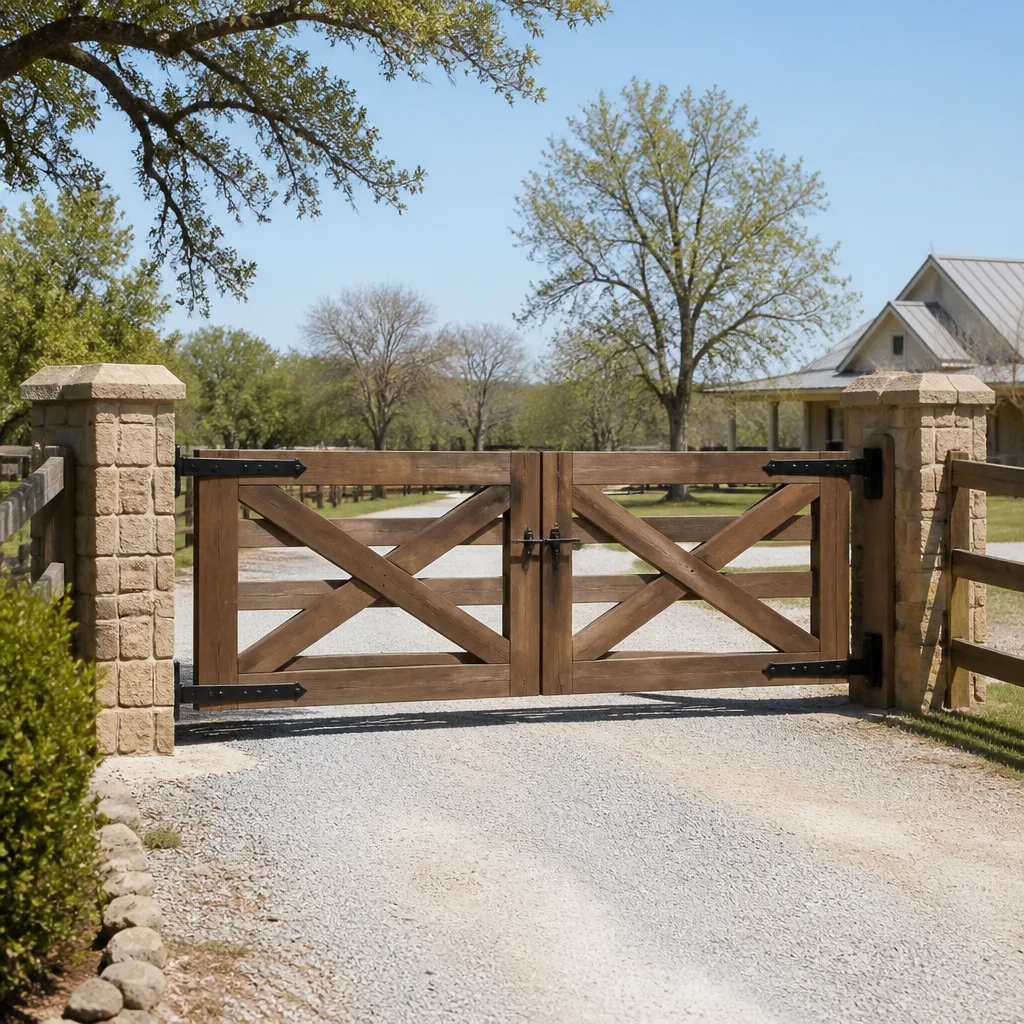
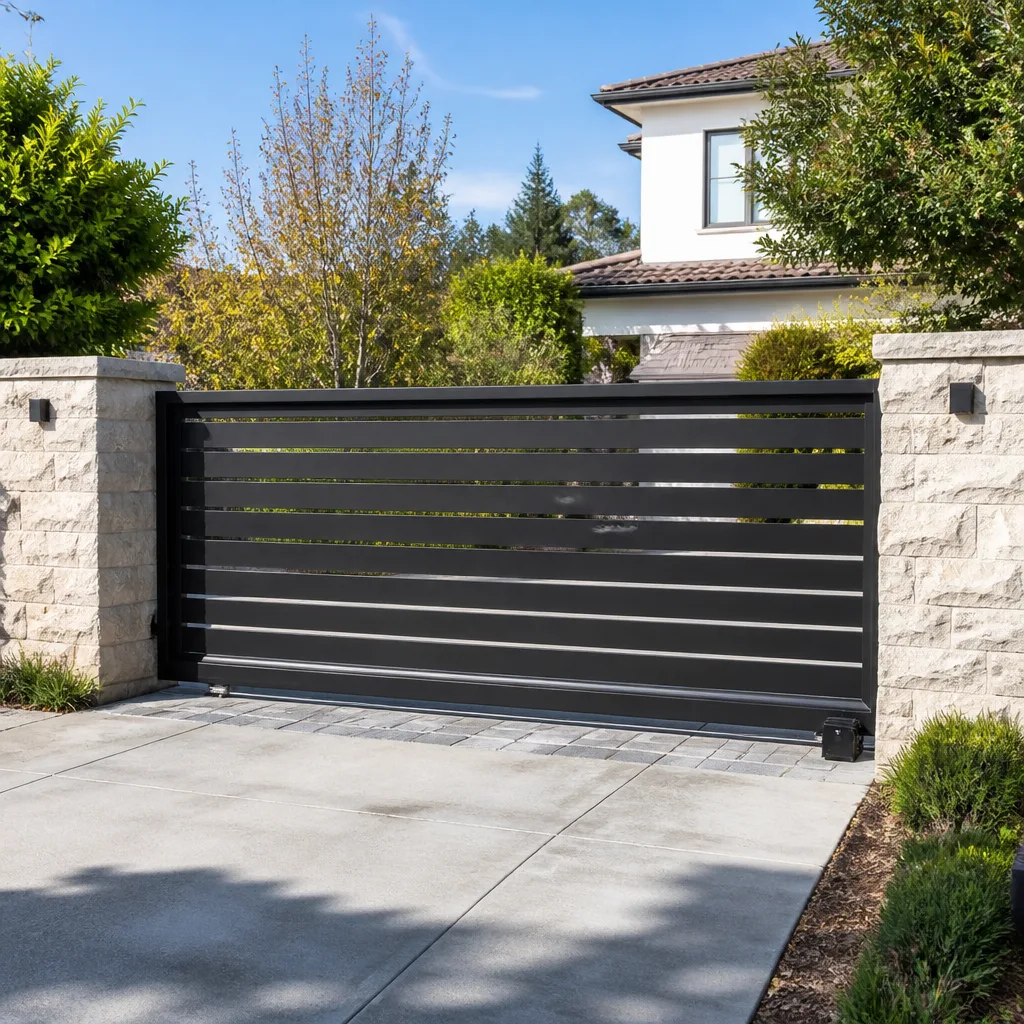
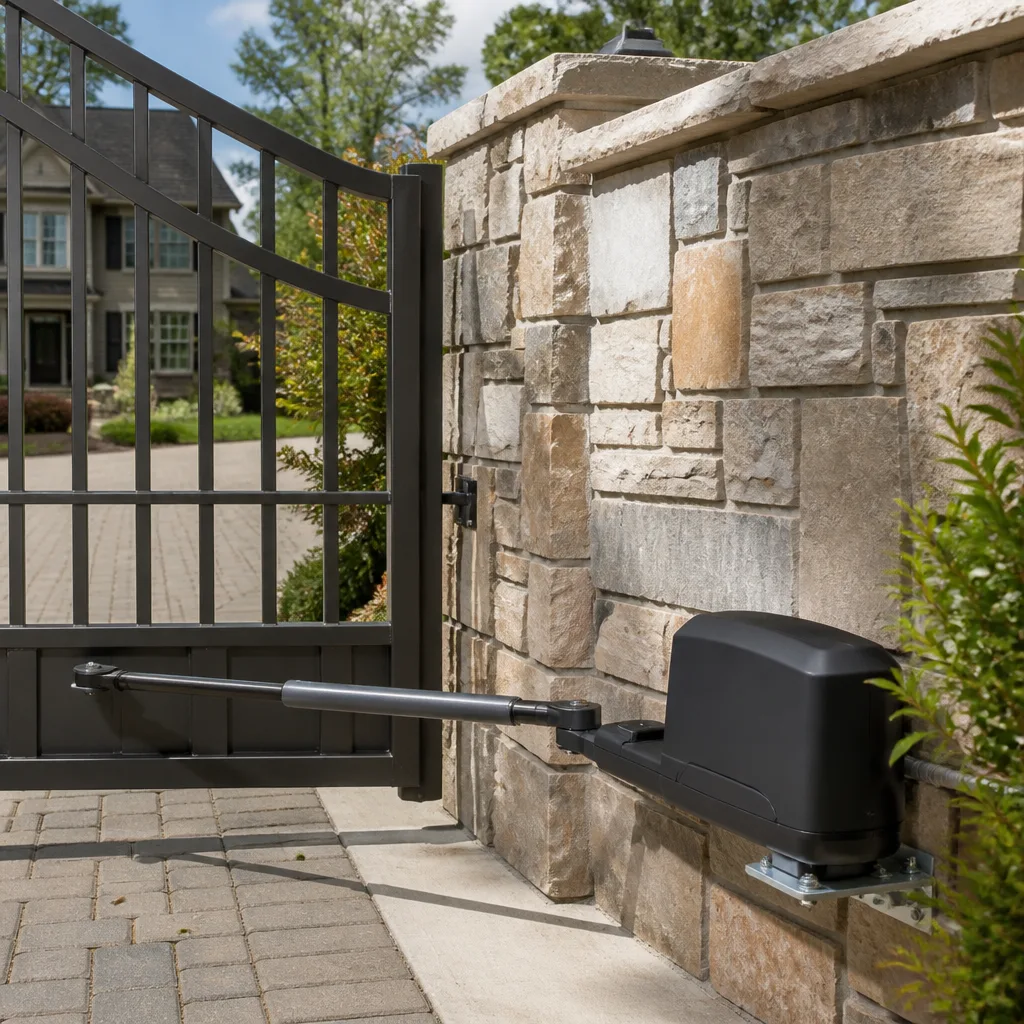
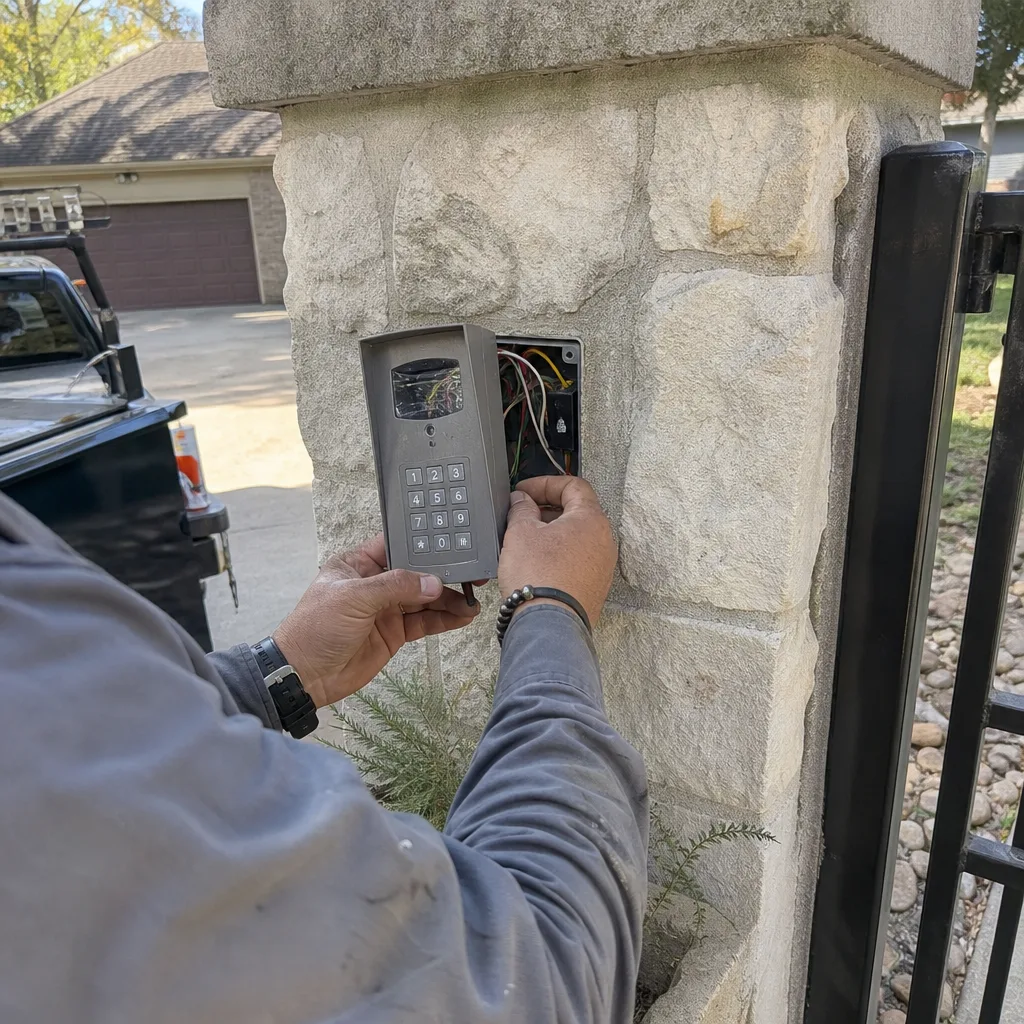
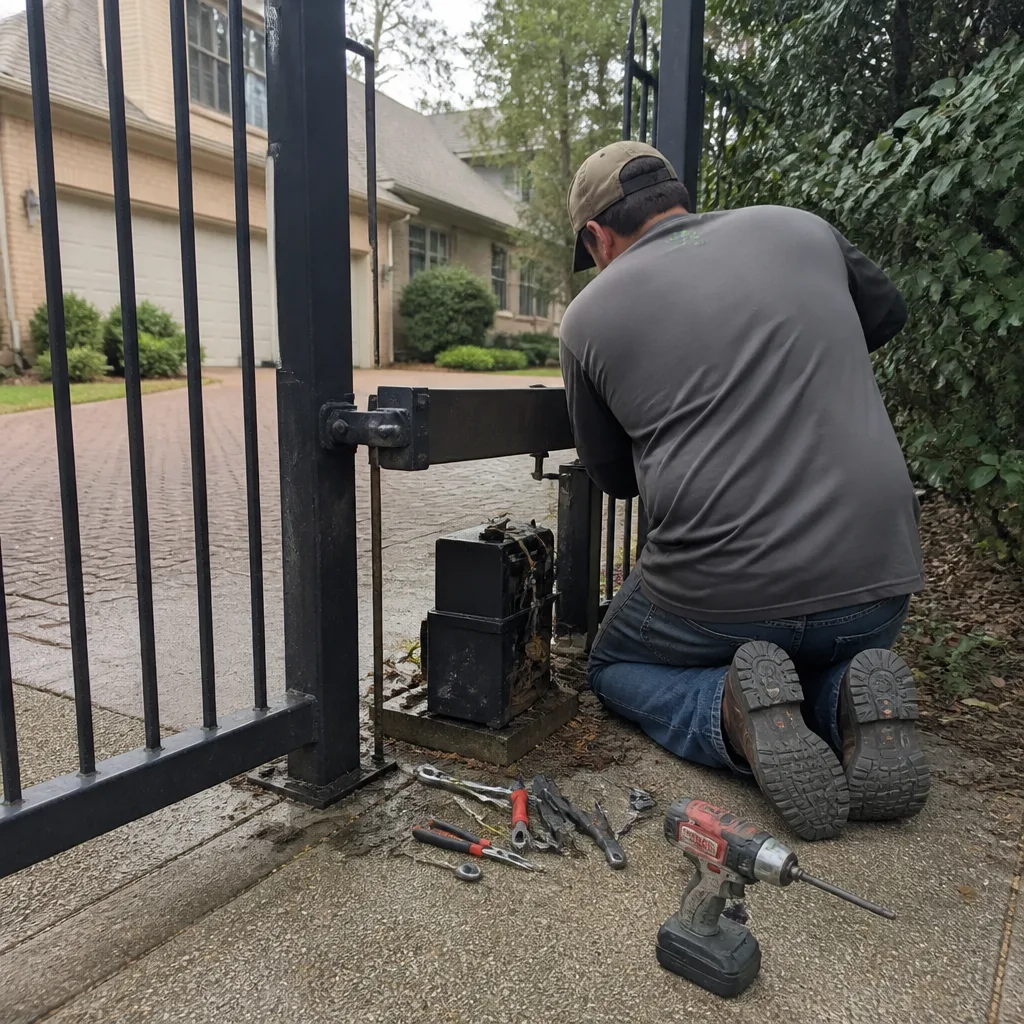 Before
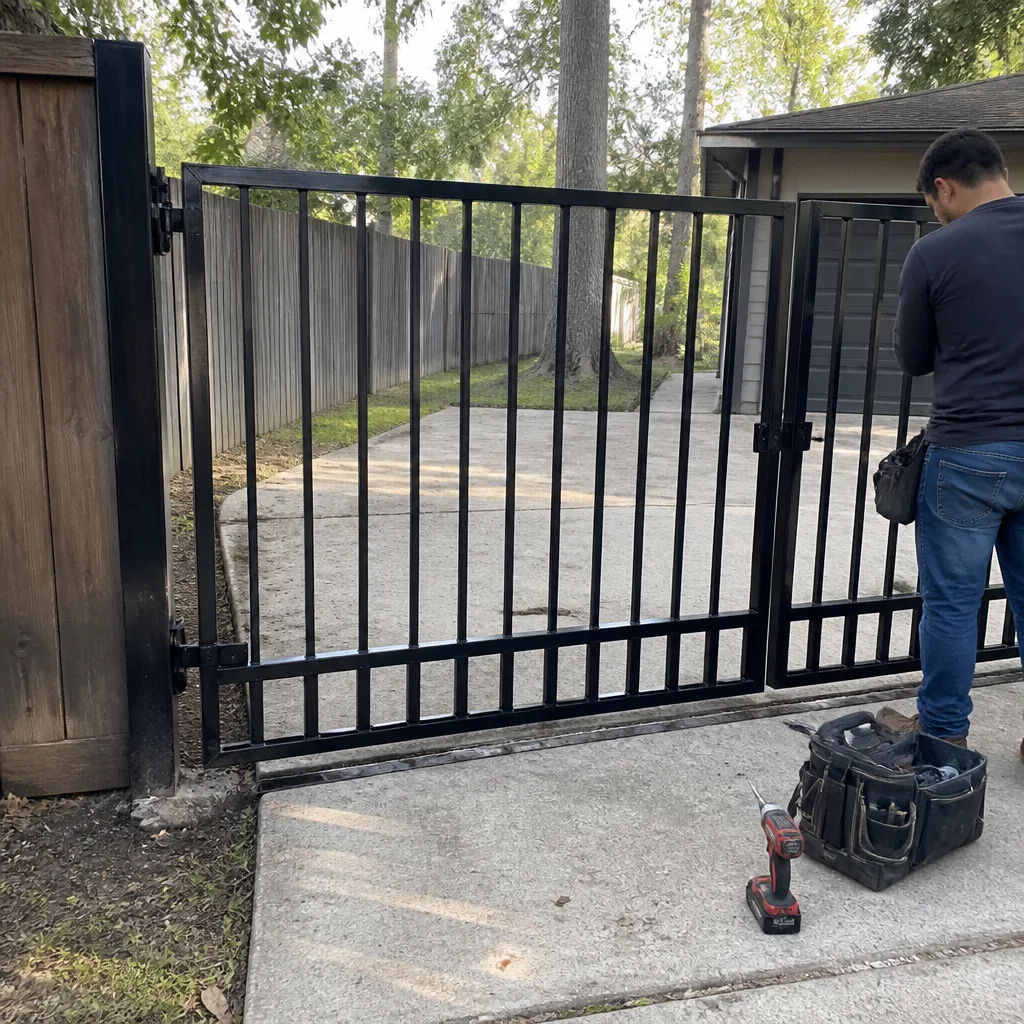 After
After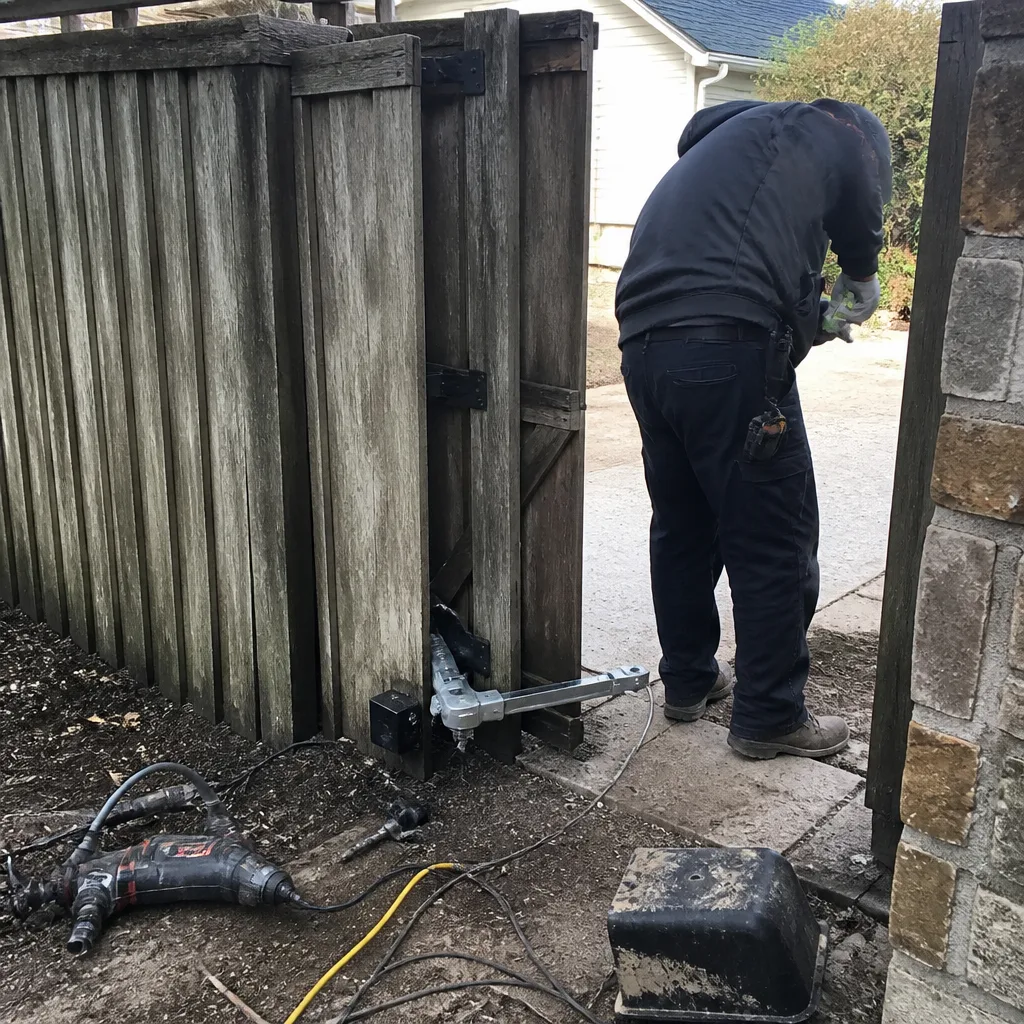 Before
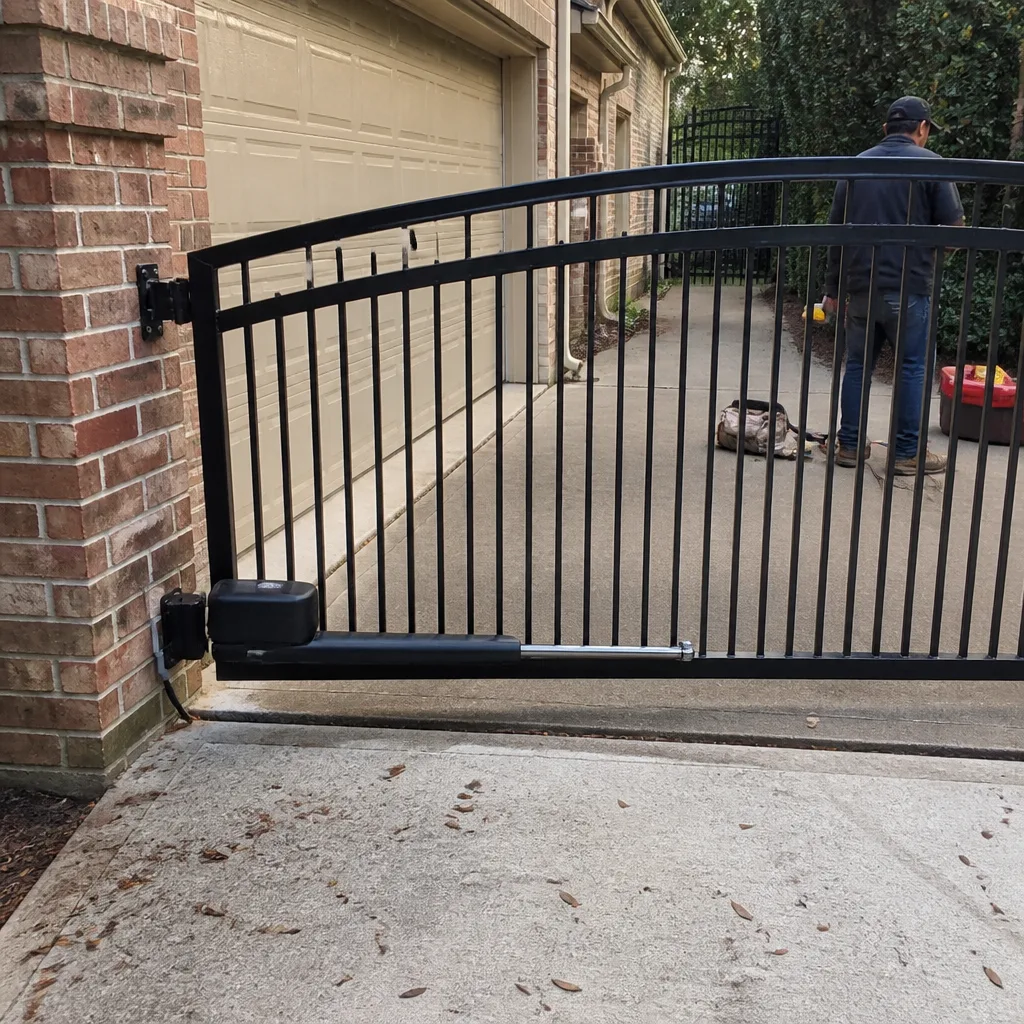 After
After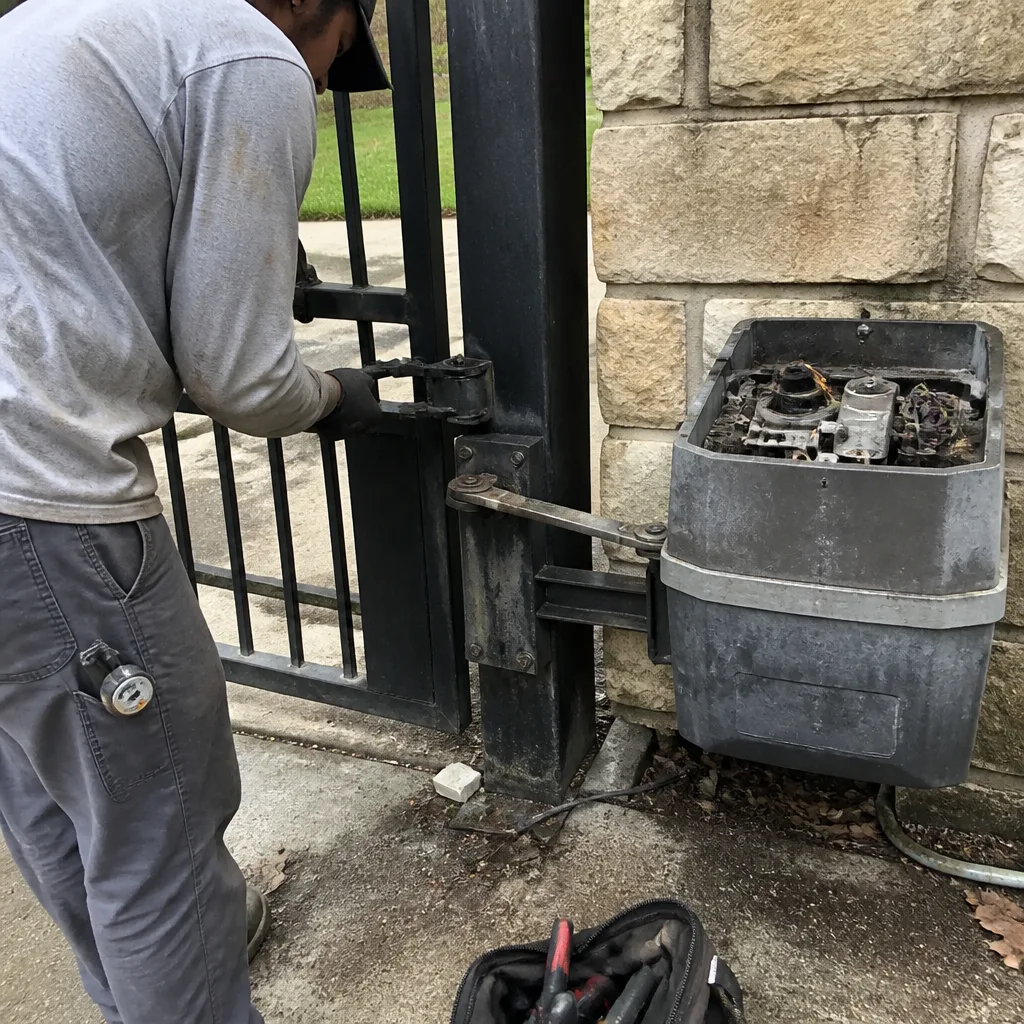 Before
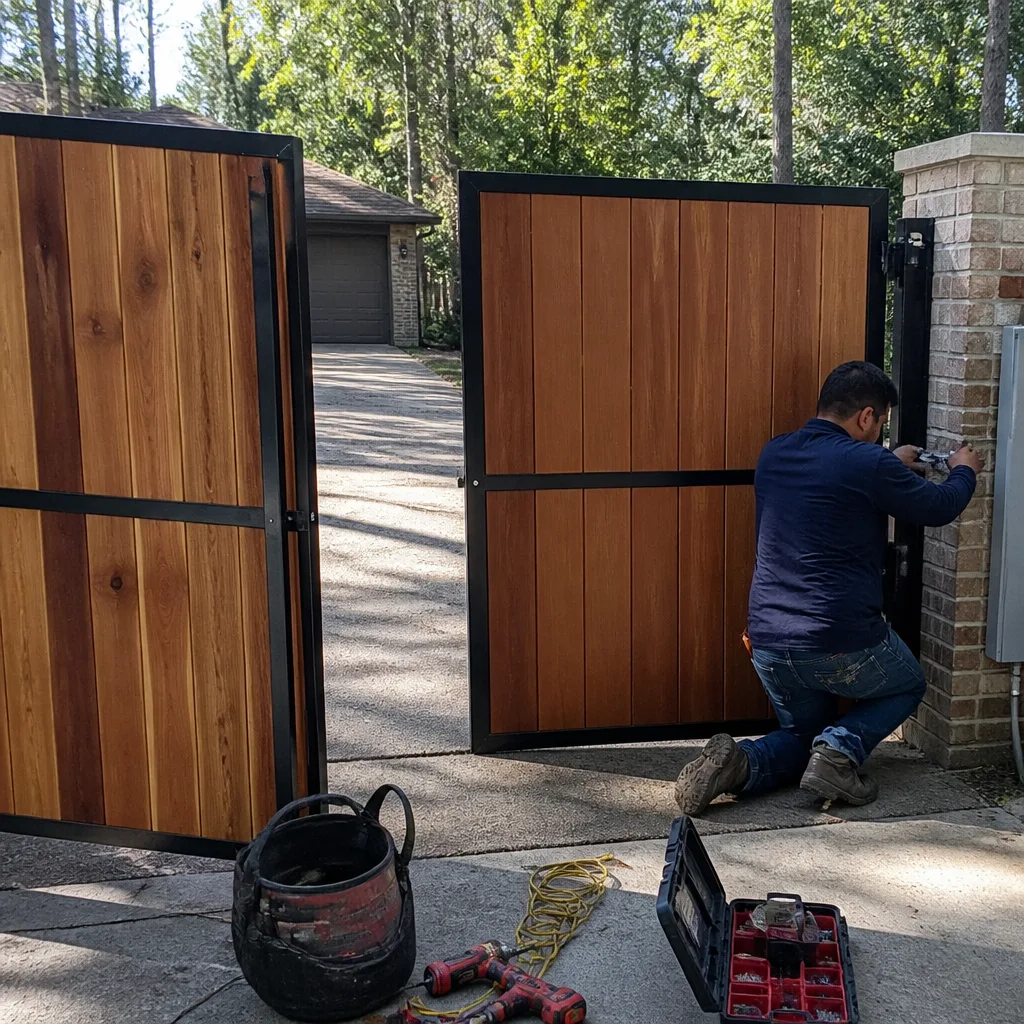 After
AfterDIY vs Professional Gate Repair: The The Woodlands Homeowner’s Decision Guide
Every year, gate technicians in The Woodlands undo a predictable set of homeowner repairs: the miswired control board, the photo-eye angled into the sun, the chain pulled tight enough to snap a sprocket. The homeowner wasn’t careless. The job simply had a technical boundary that wasn’t visible from the outside. This Gate Repair Maintenance Checklist for The Woodlands Homeowners draws that boundary by repair type, not by confidence level. By the time you finish, you’ll know which tasks belong on a Saturday to-do list and which belong on a work order with a written price.
Quick Answer
Most mechanical maintenance on gates is DIY-safe: lubrication, battery backup replacement, tightening loose hardware, and clearing debris from the track. The line is crossed when the repair involves force settings, entrapment-detection sensors, the control board, or any component connected to the gate’s reversing/stop logic under UL325. Those tasks require a gate technician because any change to force or sensor alignment legally and functionally alters the safety system, and an incorrect adjustment leaves the homeowner liable for any injury the gate causes afterward. In short: you can maintain the gate yourself, but you should not recalibrate the safety system yourself.
Table of Contents
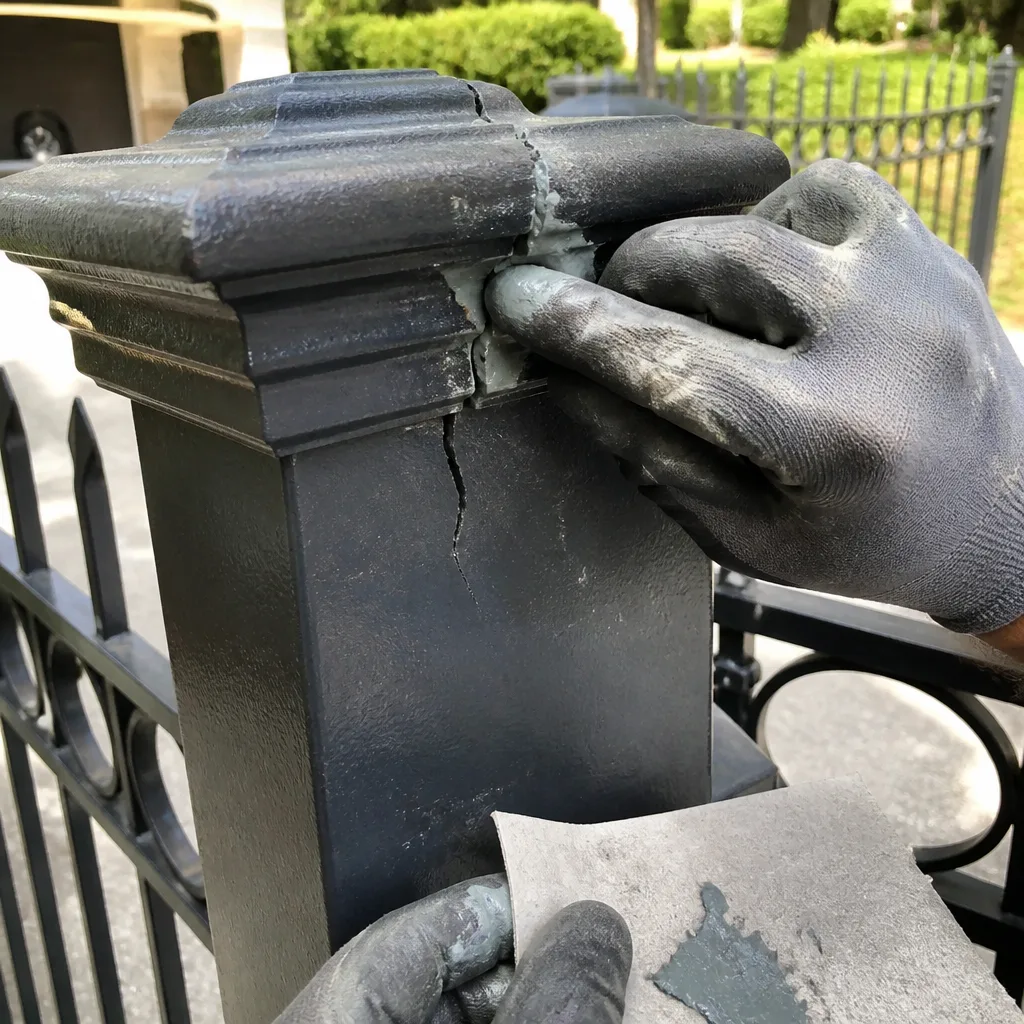
- What Separates DIY From Professional Gate Repair
- Repair-by-Repair Classification Table
- The UL325 Standard and Why It Governs the Decision
- Tool and Knowledge Requirements by Common Repair
- What a Failed DIY Repair Actually Costs
- The Documentation Habit for DIY Maintenance
- The Woodlands-Specific Factors: Heat, Humidity, and Salt
- Common Mistakes to Avoid
- When to Call a Professional
- Frequently Asked Questions
- The Bottom Line
BeforeAfterWhat Separates DIY From Professional Gate Repair
The dividing line between DIY and professional gate repair is not the homeowner’s skill level. It is the component’s relationship to three specific inputs: voltage, weight, and entrapment detection. A task that involves household AC voltage or stored mechanical energy (a wound torsion spring, a tensioned chain on a 600-pound gate leaf) is not a hand-tool job. A task that alters how the gate detects and responds to obstructions is a safety-system job. Everything else is maintenance.
At Vance Gate Repair The Woodlands home, we explain this line to homeowners in The Woodlands because getting it wrong has real downstream cost. A misaligned limit switch on a LiftMaster swing operator doesn’t just make the gate stop early. It changes the gate’s closed-position geometry, which changes how the photo-eye reads the path, which can create a false-safe condition where the gate believes the path is clear when it isn’t. That is not a repair failure. That is a safety failure, and it travels under the label of a repair the whole time.
The practical test we give homeowners is simple: if the repair requires you to open a control board housing, move a sensor, alter a force setting, or remove spring tension, the labor belongs on a technician’s work order. If the repair involves a grease fitting, a battery compartment, a loose bolt, or a debris pile, you can do it yourself. The test is about the component, not the person.
Repair-by-Repair Classification Table
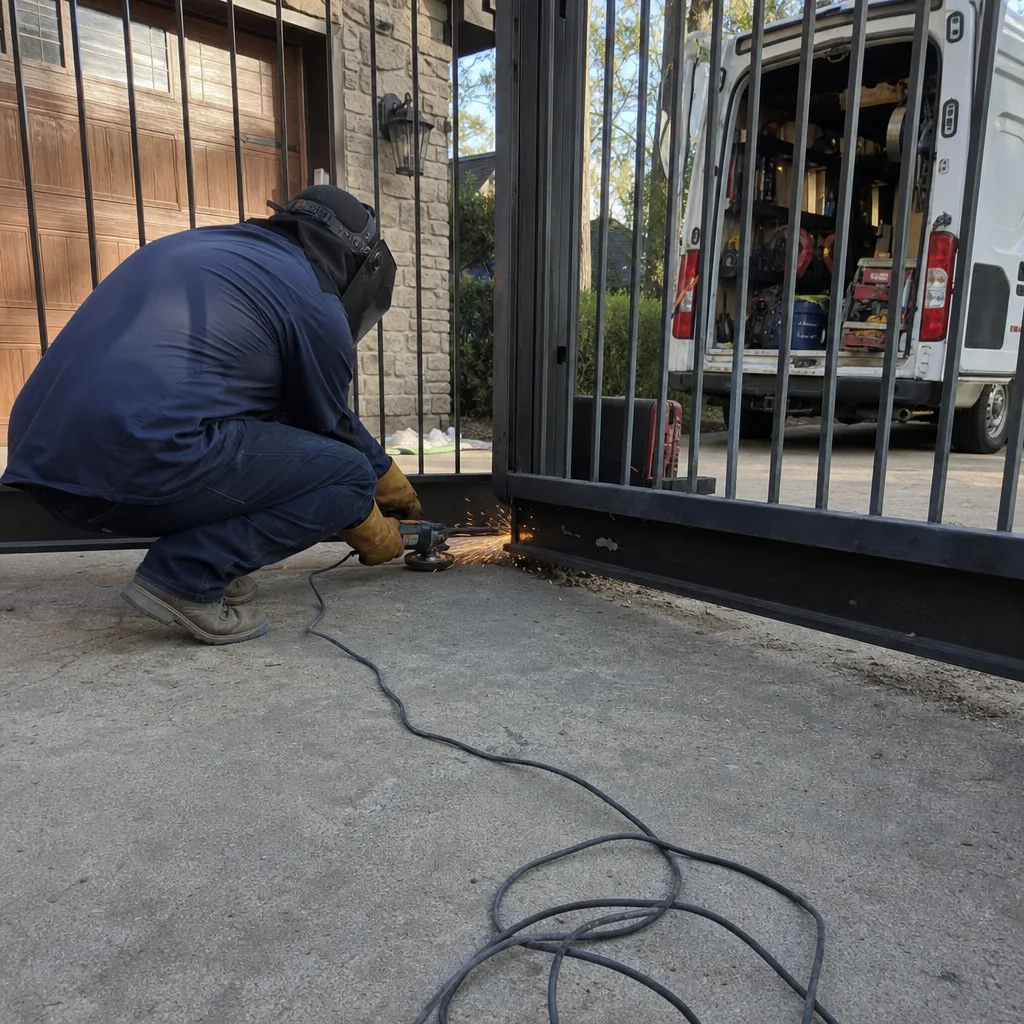
The following table classifies the most common gate repairs in The Woodlands. The “why” column is the part most online lists skip. It is also the only column that matters.
- Lubricating hinges, rollers, and chains (DIY-safe): Mechanical maintenance only. No voltage, no tension change, no sensor interaction. Use a lithium or silicone spray, not WD-40, which attracts dust in the dry summer months.
- Replacing battery backups (DIY-safe): DC circuit at low voltage, but the homeowner should photograph the old battery orientation first and confirm the replacement matches the spec printed on the housing. Wrong polarity on some Mighty Mule boards will fry the charging circuit.
- Tightening loose hardware and bolts (DIY-safe): No safety system involved. Use a torque wrench where possible. Over-tightening a j-bolt on a swing gate hinge can warp the frame in a single season of Texas heat.
- Clearing track and removing debris (DIY-safe): The single most common issue behind intermittent stop/reverse faults in The Woodlands. Debris accumulation on slide-gate V-track is predictable here due to pine needle drop and construction runoff.
- Adjusting chain tension (borderline, often DIY-safe): Requires a ruler and a socket wrench. The manufacturer spec is usually 1 to 2 inches of deflection at midpoint. What makes it borderline is that over-tensioning a chain on an 800-pound gate loads the drive sprocket and motor shaft, which shortens motor life. Do it, but measure.
- Replacing a photo-eye (professional, sometimes borderline): The new sensor must be mounted at the same height, same angle, and same detection zone as the old one, then tested under the UL325 obstruction-response requirement. If you do this yourself, the gate can pass visual inspection and still fail a blocked-path test. By the time you discover that, the gate has already had a close call.
- Adjusting force settings (professional required): This is a UL325-governed change. The force must be set to the minimum required to move the gate, then verified against a fixed test weight or obstruction test. Homeowners who increase force to “fix” a dragging gate are masking a mechanical problem and disabling the gate’s most important safety feature.
- Adjusting limit switches (professional required): Travel limits define the gate’s open and closed geometry. Changing them changes the overlap, the latching point, and the photo-eye’s effective path. A limit switch set 12 degrees past travel does not just look wrong, it changes the gate’s closing path enough that the entrapment sensor reads a different zone than the physical path.
- Replacing or rewiring a control board (professional required): This is the repair that fails most often in DIY attempts. The board is the gate’s decision-making component. A miswire or an incorrect DIP switch setting does not always blow a fuse. It can leave the gate running fine for two weeks, then fail during a storm or a power surge, when the gate is needed most.
- Replacing torsion springs (professional required, no exceptions): A wound torsion spring stores enough energy to kill or maim. This is not a gate-repair decision. It is a safe-work decision. No homeowner should attempt this repair. Period.
- Replacing an outlet or running new power to the gate (licensed electrician): If the repair involves line-voltage wiring, conduit, or a breaker panel, it belongs to a licensed electrician. Gate companies and handymen often do this work, but The Woodlands permitting requirements for new electrical runs are specific, and a gate technician’s license does not cover electrical work in most jurisdictions.
The UL325 Standard and Why It Governs the Decision
UL325 is the American entrapment-protection standard for automated gates and doors. It exists because people, especially children, have been killed or seriously injured by gates that did not correctly detect an obstruction. UL325 requires that every automated gate include a primary and secondary entrapment-protection system, and that both systems be tested and verified after any adjustment that could affect their function. That includes force settings, speed settings, limit adjustments, and photo-eye alignment.
What most homeowners in The Woodlands don’t know is that UL325 is not a manufacturer requirement. It is a safety standard that installers and technicians are obligated to meet, and it has legal weight. If you adjust your gate’s force or photo-eye alignment yourself, you become the last person who touched the safety system. If the gate later injures someone because that adjustment was incorrect, the liability question starts with you. It does not matter that you had good intentions. It matters that you changed a safety-governed setting and did not test it to standard.
The test itself is straightforward for a technician: place a test object in the gate’s path and verify that the gate stops and reverses within the required force and time thresholds. The test object is specified by UL325 based on gate type. For a swing gate, it is a specific weight placed at the leading edge. For a slide gate, it is a specific obstruction height. The technician also records the force reading and the photo-eye response time. Under Gate Repair in The Woodlands documentation practice, we leave the homeowner with a photograph of that test and the recorded values. The Haven Standard Clause 4 covers that: evidence on every job, for every visit, residential or commercial.
The reason this matters for the DIY question is simple: almost no homeowner owns the test equipment to verify a UL325-compliant force setting or sensor alignment. You might be able to adjust the force dial. You cannot verify that the gate reverses with the required force and speed. You cannot verify that the photo-eye detects a child-sized object at the middle of the gate’s travel. Those tests require a calibrated force gauge and a test object of specific dimensions. Without the verification, the adjustment is not a repair. It is a guessed change to a safety system.
Tool and Knowledge Requirements by Common Repair
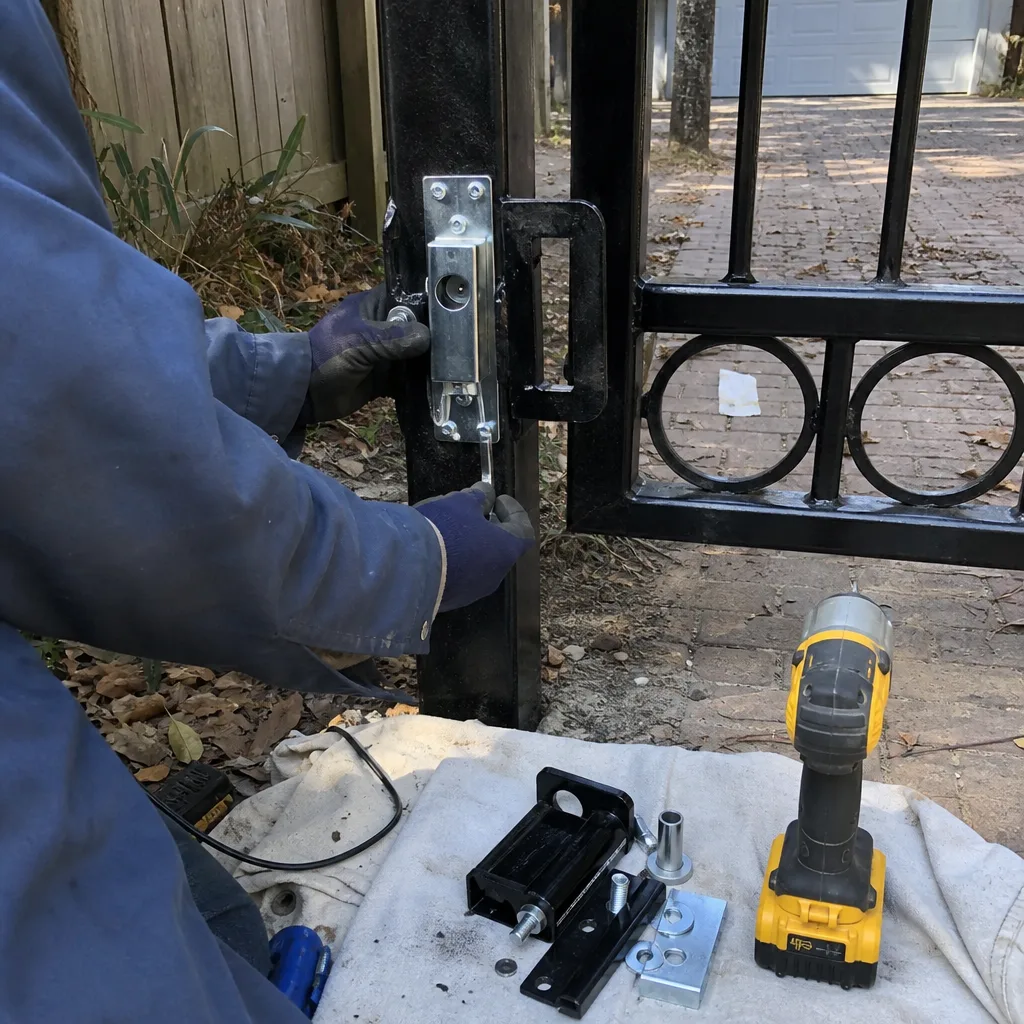
The gap between what a repair looks like it needs and what it actually needs is where the DIY decision usually goes wrong. A homeowner watches one YouTube video, sees a crescent wrench and a screwdriver, and assumes the job is tool-limited. The reality is that several of these jobs are knowledge-limited, and the knowledge required is not available from a single video.
Chain Tension Adjustment: Tool-Limited, Not Knowledge-Limited
A chain-tension adjustment on a slide gate really does only require a socket wrench, a measuring tape, and the manufacturer’s specified deflection. The job is a matter of loosening the tension bolts, adjusting the take-up, and locking it back down. The risk is over-tensioning, which puts load on the drive sprocket and motor shaft, but a homeowner with a ruler and the manufacturer spec can do this job correctly. We’ve seen hundreds of homeowners in The Woodlands handle chain tension well.
Limit Switch Adjustment: Knowledge-Limited, Not Tool-Limited
Limit switch adjustment looks simpler than chain tension. You open a housing, turn a cam or screw, and the gate stops at a different point. The tools are a screwdriver and a wrench. But the limit switch is not just a stopper. It is the reference point for the gate’s entire travel logic. Change the closed limit, and you change the overlap. Change the overlap, and you change the relationship between the photo-eye and the gate’s physical edge. Change that relationship, and you may create a gap the sensor cannot see. The knowledge required is not “turn to the right.” It is “what do the closed-position tolerances need to be for this gate type, this motor, and this sensor configuration.” That knowledge lives in a technician’s head after years of install-recall cycles, not in a single tutorial.
Photo-Eye Replacement: Measurement-Limited
Replacing a photo-eye (the infrared beam that stops the gate if something crosses the path) looks like a two-bracket, two-screw job. In practice, the new eye must be mounted at the same height as the old one, aligned to a receiver that sees the beam at the same angle, and tested for the exact detection zone. If the alignment is off by half an inch, the gate may behave perfectly for weeks, then fail a blocked-path test when a child’s bicycle is at mid-travel. We see this specific scenario in The Woodlands after DIY photo-eye replacements on Gate Installation in The Woodlands projects where the original installer left no documentation of the eye height. The homeowner is not equipped to verify the detection zone because they cannot see the beam.
What a Failed DIY Repair Actually Costs
The hidden cost of a failed DIY gate repair is not the replacement part. It is the diagnosis time. When a technician arrives at a gate that has been through a homeowner repair attempt, the first task is never the repair itself. The first task is figuring out what was changed, what was reversed, and what was left connected but undone.
Here is a real scenario we have seen in The Woodlands multiple times: a homeowner replaced a LiftMaster control board himself. The gate worked fine on the day of the replacement. Two weeks later, the gate stopped responding to the remote. The homeowner called us. Our technician opened the housing and found the board wired with the common and the normally-open contact swapped. The board was not damaged. It had been miswired from the start, and the gate worked because of how the relay logic defaulted on power-up. The fix took our technician three hours: one hour to trace the wiring and document the wrong configuration, thirty minutes to rewire correctly with labeled connections, forty-five minutes to test all safety functions, and forty-five minutes to write the photo log and the written record. The homeowner paid for three hours of diagnosis and correction on a job that a professional would have completed in ninety minutes at the board-replacement rate. The failed DIY attempt did not save money. It added roughly $220 in diagnosis labor that a first-time professional repair would not have incurred.
The pattern extends beyond control boards. A poorly adjusted force setting masks a mechanical problem. A reversed battery connection damages the charging circuit. An over-tensioned chain accelerates sprocket wear. Each of these failures creates a second problem that exists only because the first was done incorrectly. That second problem is the one a technician has to find and explain before fixing the first one. That is why Gate Motor & Opener in The Woodlands diagnostics start with a documented baseline of what the current state is, not an assumption about what it should be.
We should be honest about the other side of the equation: there are homeowners in The Woodlands who do handle their own chain tension, battery replacement, and lubrication, and they save the service call. That is legitimate. The key is that these owners do not open the control board, do not move sensors, and do not alter force settings. When the repair reaches that boundary, they call a technician and pay the diagnostic rate. It is not a philosophical preference. It is a technical line with a cost on both sides.
The Documentation Habit for DIY Maintenance
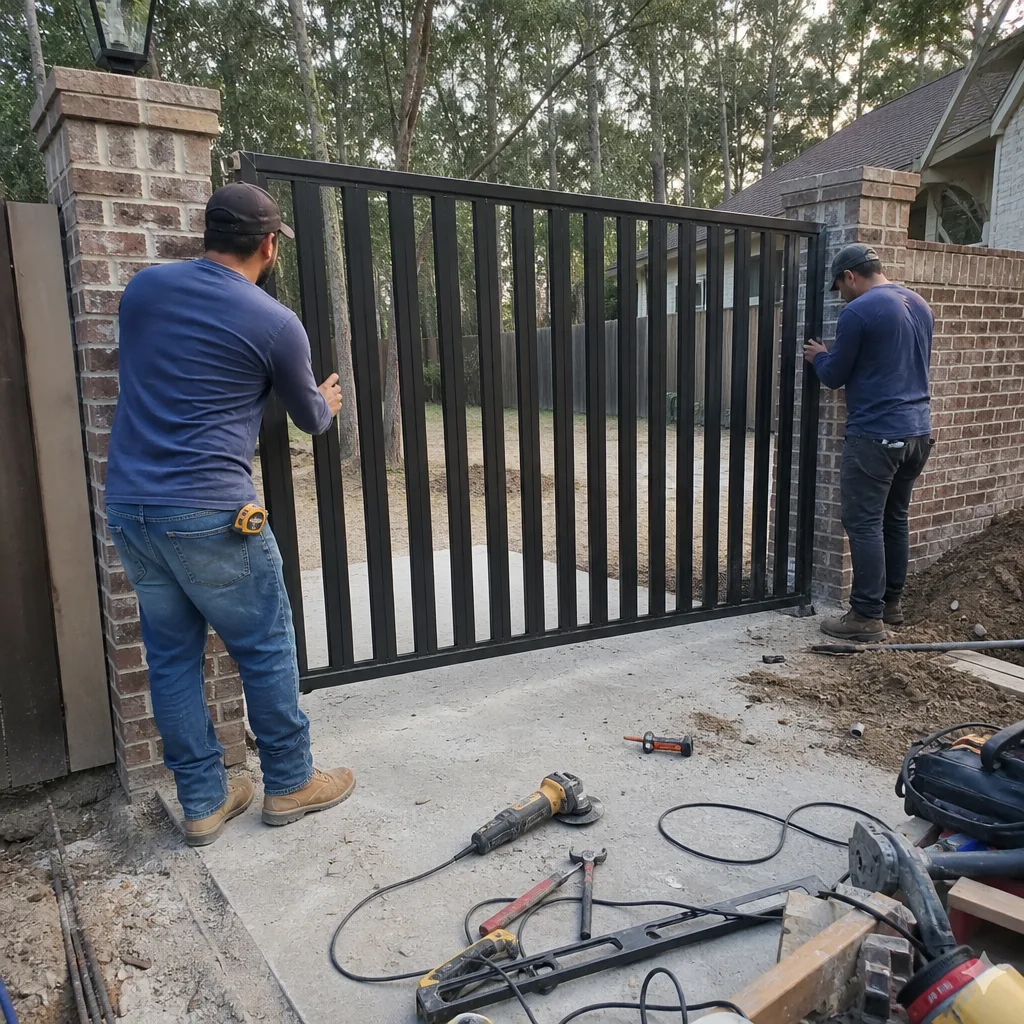
Even when a homeowner performs legitimate DIY maintenance, they should document it. Not for the manufacturer’s warranty, not for a future resale negotiation. They should document it because a future technician cannot distinguish between a gate that has always sagged and a gate the homeowner adjusted incorrectly eighteen months ago. The absence of records forces the technician to diagnose from a blank slate, and diagnosis time is billable.
The documentation does not need to be elaborate. It needs three things:
- A photo before the work starts. The hinge, the battery orientation, the chain position, the sensor bracket. One clear photo of the component in its original state.
- A photo after the work is finished. The same angle, the same framing. The purpose here is to give the next technician a baseline of what the homeowner did, not to prove the work happened.
- A dated note describing what was changed. “Replaced battery backup with [brand and model]. Polarity confirmed. Gate tested three cycles.” Three sentences is plenty. The note lives in a folder or a notes app. If the gate fails six months later, the technician reads the note and does not have to rediscover that the battery was replaced.
This habit is the same one we apply under The Haven Standard: a written record of what was found, what was adjusted, and what was left. The homeowner version does not need to be as detailed as a technician’s record, but it should capture the same three facts. The reason is not sentimental. It is economical. Every hour a technician spends re-establishing a baseline is an hour the homeowner pays for. A three-photo record eliminates that hour.
The Woodlands-Specific Factors: Heat, Humidity, and Salt
The Woodlands has a gate environment that is different from Houston proper. The tree canopy that defines the neighborhoods also creates continuous organic debris. The summer humidity and the afternoon heat cycles create specific mechanical stress patterns. And for homes near the eastern and southern edges of The Woodlands, the Gulf air brings salt that accelerates corrosion on exposed metal components. These factors matter for the DIY-vs-professional decision because they change the failure mode and the maintenance calendar.
Heat matters differently than most homeowners in The Woodlands assume. A metal gate panel in direct afternoon sun can reach 140 degrees. The operators inside a non-ventilated housing can run even hotter. That heat does two things: it degrades wire insulation faster than in cooler climates, and it changes the behavior of thermal overload sensors on motors. A gate that runs fine in February may trip its thermal switch in August. A homeowner who attributes an August failure to a “broken motor” may actually be seeing a motor protecting itself from heat. That diagnosis requires a temperature reading on the housing and a reading on the motor, not a visual inspection.
Humidity and rain create a different set of issues. The Woodlands averages more than 50 inches of rain per year, and the humidity stays high through most of the spring and fall. That moisture finds its way into control-board housings, limit-switch compartments, and wire junctions. Corroded connections cause intermittent faults that are hard to reproduce on demand and consequently hard for a homeowner to diagnose. A technician’s approach to an intermittent fault is to check the junction boxes in sequence and photograph each one. That photographic habit is not vanity. It is how you find the one corroded wire among the eight clean ones.
Salt exposure on homes near the eastern edge of The Woodlands, approaching the closer Gulf air influence, accelerates hinge and roller wear. Stainless hardware lasts. Zinc-plated hardware does not. A homeowner lubricating hinges correctly will still face hardware replacement sooner than the same hinge would require in a drier inland location. The DIY maintenance calendar should account for that. A hinge that works fine in a Hill Country home for a decade may need real attention in a The Woodlands home in four to five years.
Common Mistakes to Avoid
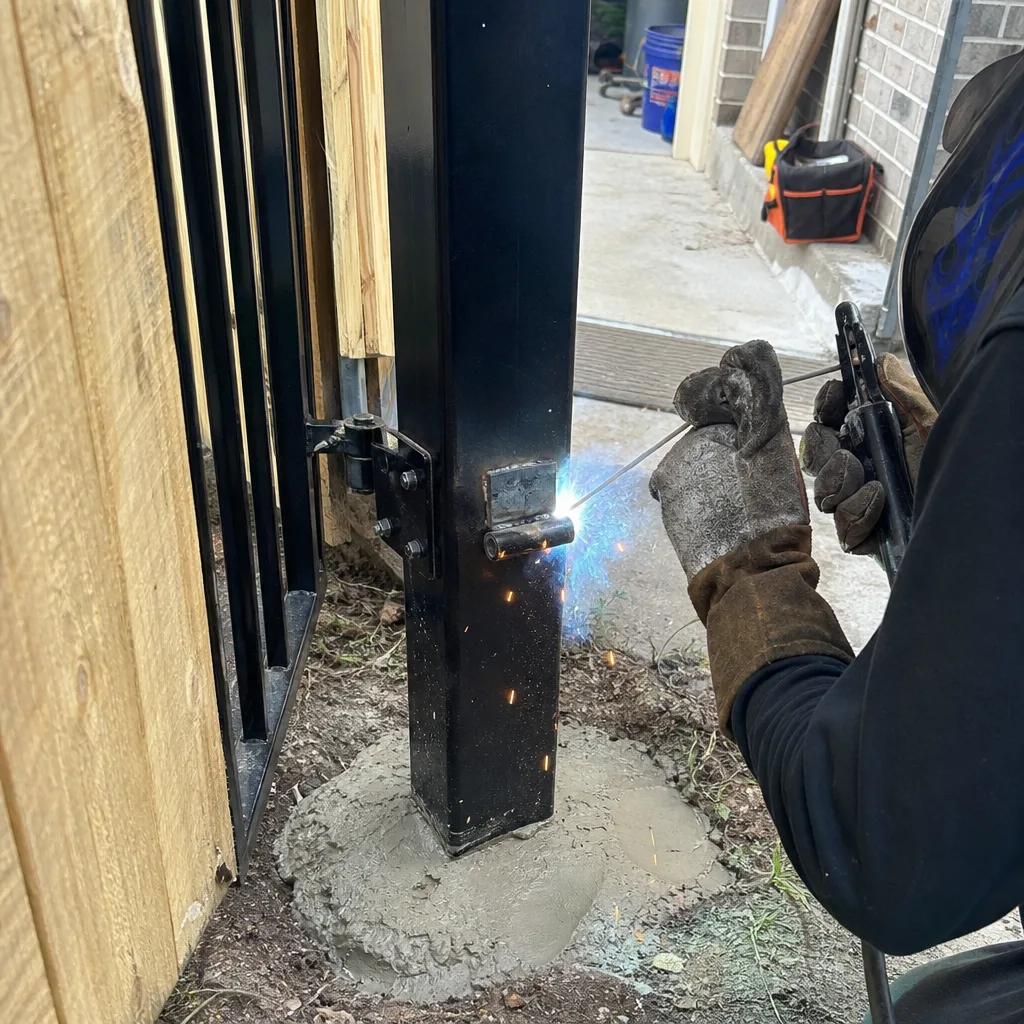
- Using WD-40 as a gate lubricant. WD-40 is a water displacement formula, not a long-term lubricant. It will quiet a hinge for a few days, then attract dust and create a gummy residue that wears the hinge faster. Use a lithium or silicone spray formulated for metal-on-metal outdoor applications.
- Increasing force to fix a slow or dragging gate. A dragging gate almost always has a mechanical cause: a bad wheel, a sagging hinge, a dirty track, a failing capacitor. Increasing the force setting does not repair the cause; it masks it and disables the entrapment-protection threshold. The gate is no longer safe, and the underlying problem gets worse.
- Power-washing the gate and the operator housing. A pressure washer drives water into control boards, limit switches, and motor housings. The gate looks clean for a weekend, then starts faulting. Use a hose at low pressure or a damp cloth, and never spray water directly into the operator housing.
- Replacing a battery without photographing the old orientation first. Mighty Mule and Ghost Controls boards do not all have reverse-polarity protection. A reversed battery connection can destroy the charging circuit on the board in seconds. One photo before removing the old battery eliminates the risk.
- Ignoring gate travel changes after a storm. In The Woodlands, heavy rain can shift the ground under a gate post, especially on gates near drainage channels or on soil that has been saturated repeatedly. A gate that suddenly stops fully opening or closing after a storm often has a post that moved, not a motor that failed. Addressing the mechanical shift early prevents a bigger repair later.
- Testing entrapment protection with a person standing in the path. Never test a gate’s reversing function with a body. UL325 specifies test objects for a reason. If the system has failed, a person standing in the path is exactly where the injury happens. Use the manufacturer’s test procedure or call a technician.
- Skipping the documentation of even successful DIY work. The next technician needs the baseline. Without a photo and a note, the technician cannot tell the difference between a gate that has always behaved a certain way and a gate whose behavior changed after a homeowner adjustment. That ambiguity costs diagnostic time, and diagnostic time is billable.
When to Call a Professional
Call a gate technician when the gate’s travel pattern changes suddenly, when it reverses without an obstruction, when the motor runs but the gate doesn’t move, when you hear a grinding or snapping sound from the operator, or when the gate has hit anything in the past week. Those are failure signatures, not maintenance flags. They indicate a mechanical or electrical fault that will not self-correct. Gate Repair from Vance Gate Repair The Woodlands offers free estimates in The Woodlands. Call (346) 296-3138 and a live person will answer, any hour, any day. You will receive a written price before any work starts, and a documented photo record when the technician leaves. That is the standard, not the exception.
Frequently Asked Questions
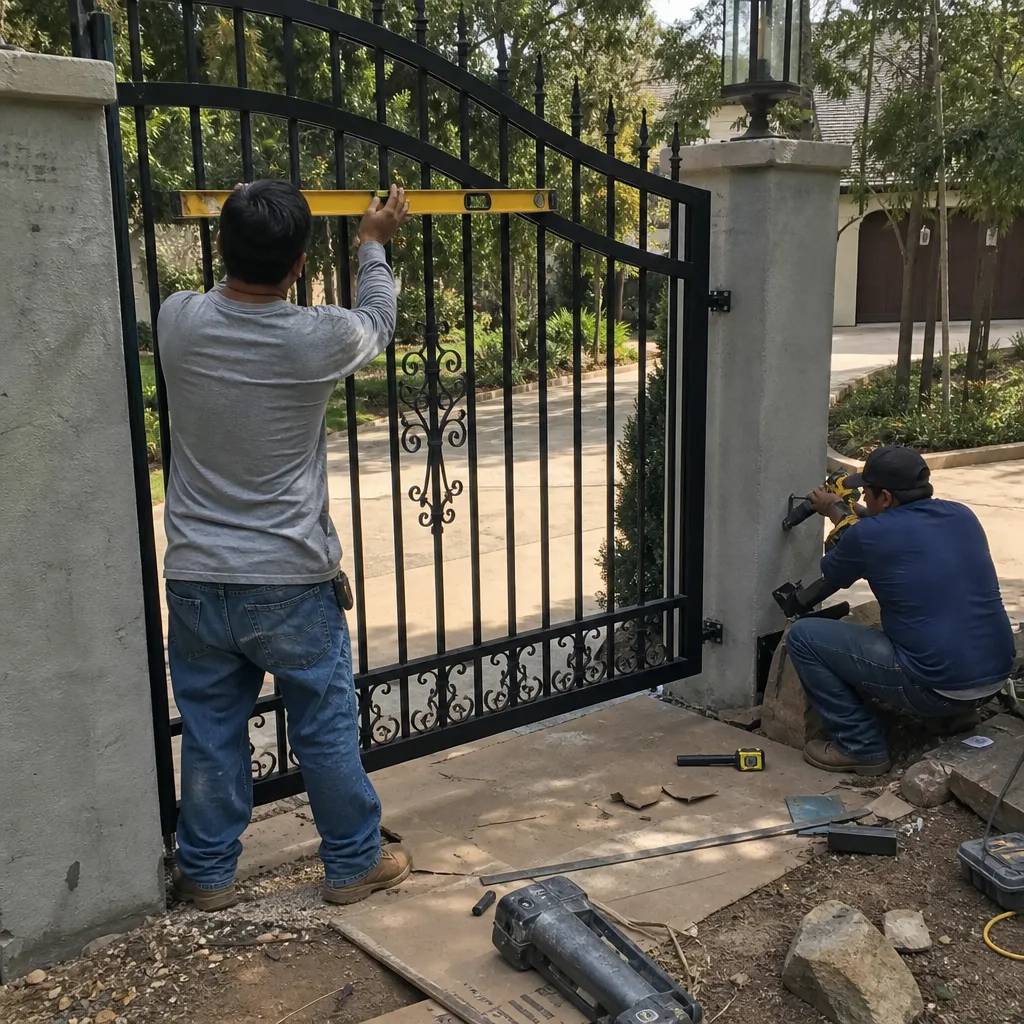
Gate Repair Cost Breakdown: The The Woodlands Homeowner’s Reference for 2026 shows that gate repair in The Woodlands typically costs between $145 and $480 depending on the repair type and the parts required. A chain tension adjustment or hinge repair runs $145 to $225. A photo-eye replacement runs $185 to $310. A control board replacement runs $340 to $480. A full motor replacement runs higher, between $850 and $1,400 depending on the brand and whether the arm bracket can be reused. Every price is written and agreed before any work starts. Call (346) 296-3138 for an exact quote, the estimate is free.
You should not adjust the force setting on your gate yourself. The force setting is the gate’s primary entrapment-protection mechanism under UL325, and any change to it must be followed by a compliance test with a specified obstruction object. Without that test, you cannot know whether the gate will stop and reverse in time to prevent an injury. This is the single most common DIY adjustment that creates a safety risk, and it is also the one that most often masks an underlying mechanical problem.
A homeowner can safely lubricate hinges and rollers, replace battery backups (with correct polarity), tighten loose hardware, clear track debris, and adjust chain tension on a slide gate. These tasks do not involve safety-system calibration, control-board wiring, or stored mechanical energy. If a repair requires opening the control board, moving a sensor, or altering a force setting, it is not a DIY task.
Most gate repairs in The Woodlands are completed the same day, typically within one to three hours on-site. Control board replacements and motor replacements may take longer if the part must be ordered for a specific brand like DoorKing or Elite. The estimate includes the labor and the parts. You receive a written price before the work starts, and the technician leaves a documented photo record of the work when it is finished.
UL325 is the entrapment-protection standard that applies to every automated gate and door in the United States, including residential driveway gates in The Woodlands. It requires a primary and secondary entrapment-protection device (typically a photo-eye and a force-reversal system), and it requires both to be tested after any adjustment that affects their function. The standard is not optional, and it carries legal weight if an injury occurs.
Rain in The Woodlands causes gate failures primarily through moisture intrusion into control-board housings, limit-switch compartments, and wire junctions, and through soil movement under gate posts. The humidity and repeated rain cycles create corrosion on connections that produce intermittent faults. A technician’s diagnostic process checks the junction boxes in sequence and documents each one, because the failure is often in the last place the homeowner would look.
The Bottom Line
The DIY-versus-professional gate repair decision has a correct technical answer for each repair type. Lubrication, battery replacement, hardware tightening, debris clearing, and chain tension are homeowner tasks. Force settings, photo-eye alignment, limit switches, control boards, and torsion springs are professional tasks. The line is drawn by voltage, weight, and entrapment detection, not by optimism. Document what you do yourself. Call a technician when the repair touches the safety system. In The Woodlands, that call goes to a live person at (346) 296-3138, and the price comes in writing before anything gets touched.
Written by Adrian Vance, Owner at Vance Gate Repair The Woodlands, serving The Woodlands since 2014.